
I’ve written about generating the JSON Web Token for Pure1 REST API authentication before. Mostly around PowerShell. Though of course many may not want to use PowerShell and prefer to opt for something like Python.
So here is the process.
We have a script posted on the support site here. But that actually doesn’t return the JWT, it creates a session. So it takes the next step after the JWT. But if you just want to generate the JWT so something else can authenticate it won’t do the trick. So I made some modifications and threw it on GitHub as a gist. You can get it here:
https://gist.github.com/codyhosterman/697ebfd72c4f7f7276afc3b74e3b5e40
First off let’s review how to actually authenticate:
- Create a private/public key pair
- Enter the public key into Pure1
- Take the provided application ID and generate a JSON web token
- Send the JSON web token to Pure1 for an access token
I will walk through step 1-3. Using Python on Linux to generate the JWT.
Generate the Key Pair
For Linux users, the simplest option here is openssl which comes native with most distributions. For Windows users, use my PowerShell method.
This portion is a one-time process. Or more accurately once per key pair–generally for each application or person accessing the Pure1 REST you want a different key pair. So once per key pair.
So first, create the private key:
openssl genrsa -aes256 -out private.pem 2048

It will prompt you to assign a password for the key. Remember it.
Then generate a public key from it:
openssl rsa -in private.pem -outform PEM -pubout -out public.pem

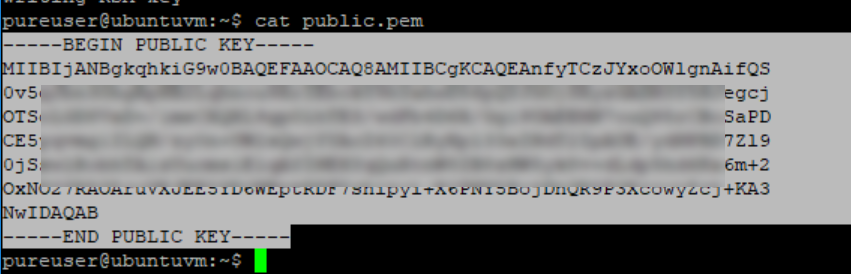
This will prompt you for the password. The key is stored (in my case) in a file in the current directory called public.pem. Cat it:
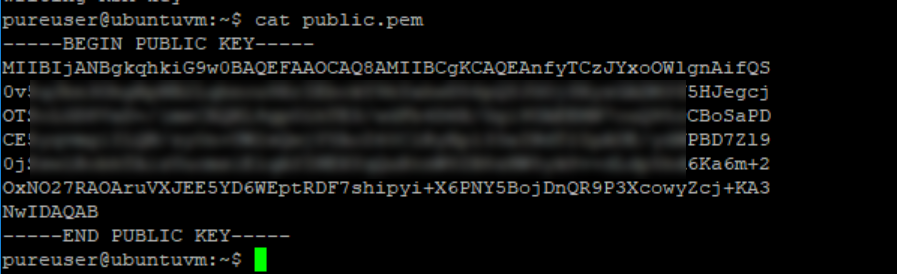
And then copy the full key INCLUDING —–BEGIN PUBLIC KEY—– and —–END PUBLIC KEY—–:
Log into Pure1.purestorage.com as an admin. If you do not see the Administration tab on the left, you are not an admin. If you are not, light up the bat signal to find your friendly neighborhood admin-person.
Yes, I made a Marvel and a DC Comic reference in the same sentence.
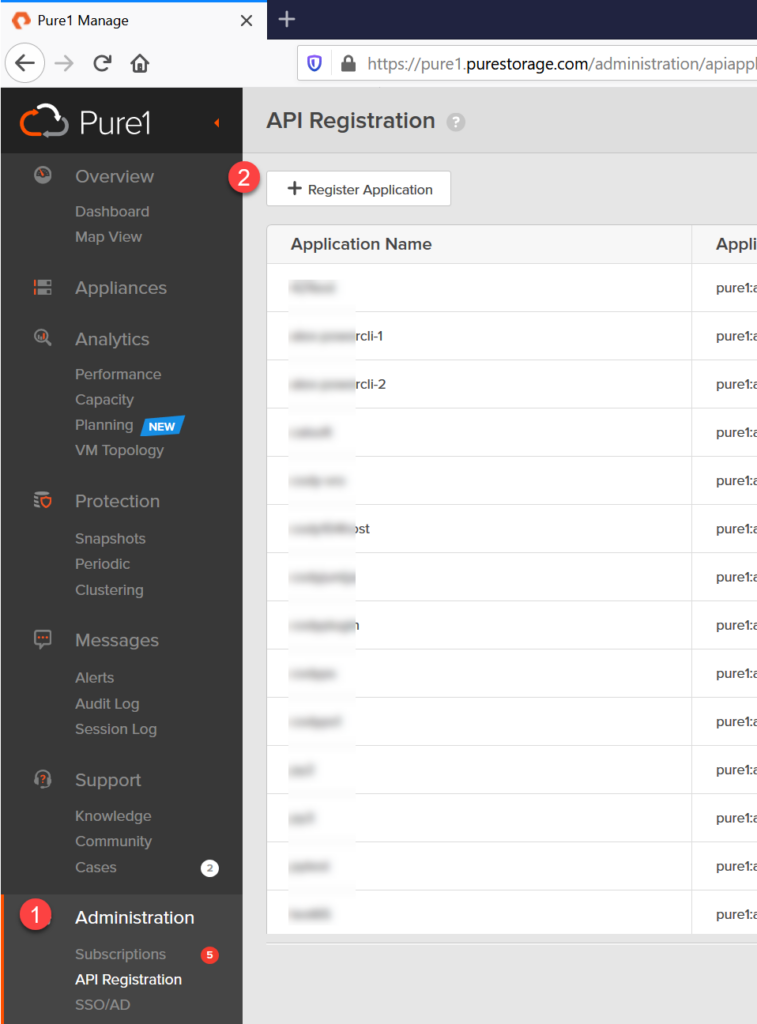
Click on Register Application and paste in your public key. Select the user right you would like any REST connection that uses this key pair to have (as of January 2020 this is either read only or admin).
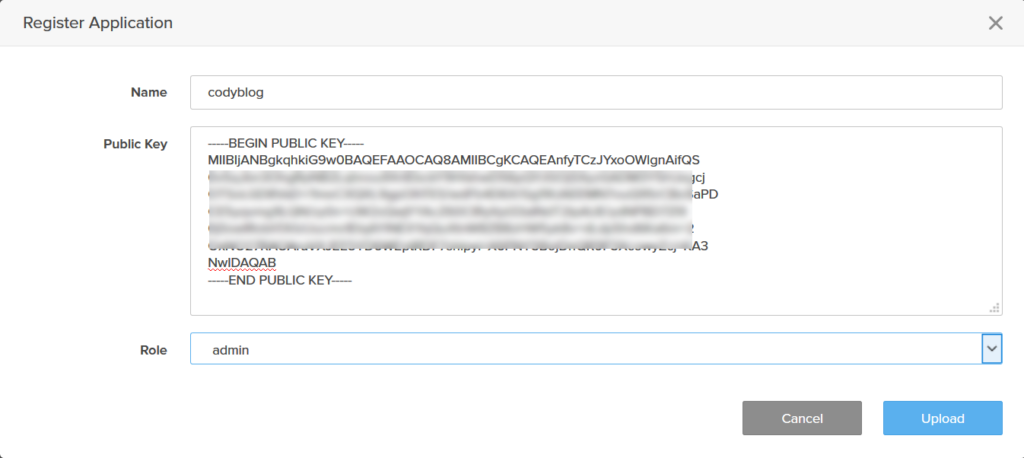
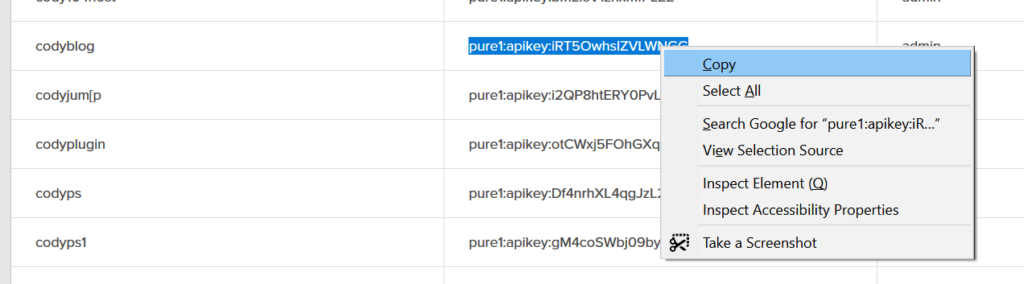
Then go to that application listing and copy the application ID.
Done with the Pure1 side!
Generate the JWT
So if you followed the instructions as the top of this blog post, you should have a file downloaded called pure1_token_factory.py. If you don’t, well scroll to the top of this post and do it. This should also be on the same system as the private key you generated earlier (or at least have access to it in some way).
In order to run this script you need a few packages:
PyJWT
paramiko>=2.7.1
requests
cryptography
six
Of course also Python and pip installed.
If you do not have pip installed run:
sudo apt install python3-pip
Now install the requirements for the script. I put the requirements in a txt file stored in S3. So if once again you cannot route out from your instance, download it manually (from this link) and place it in a text file manually.
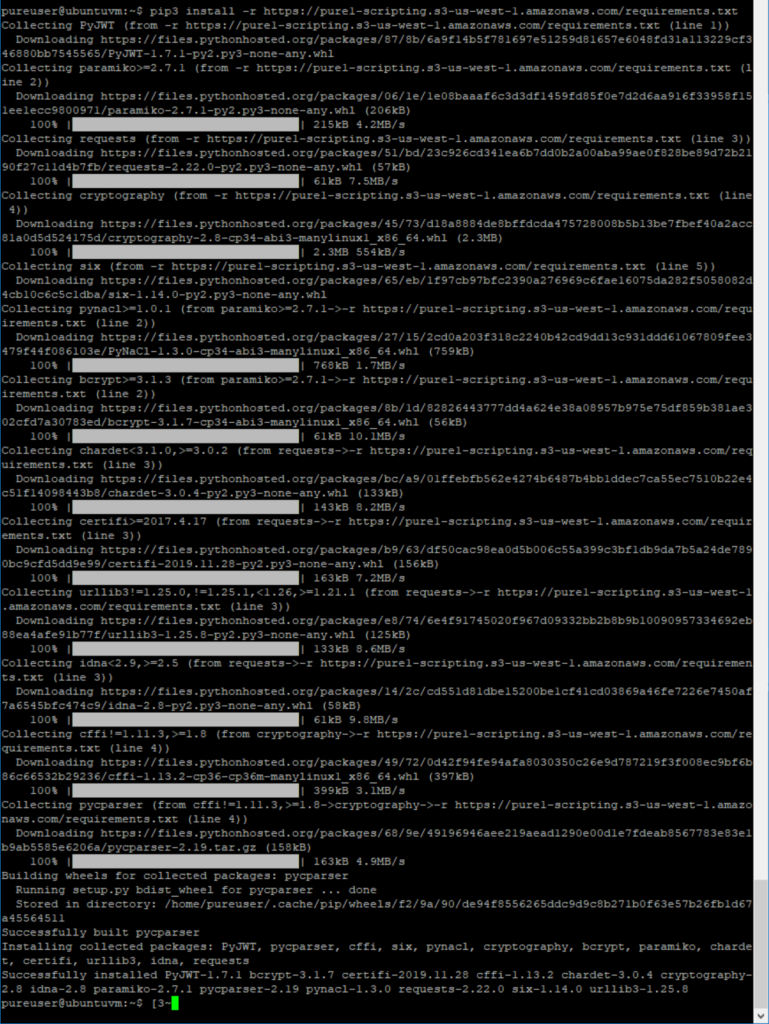
Otherwise, just run:
pip3 install -r https://pure1-scripting.s3-us-west-1.amazonaws.com/requirements.txt
Now you can create the JWT!
When running the script, pass in your application ID from Pure1 and your private key. It will also ask you for your password interactively (though you can pass it in using the -p parameter if you prefer).
Though the simplest option if you are doing this on Linux is to just direct download it with curl:

curl https://gist.githubusercontent.com/codyhosterman/697ebfd72c4f7f7276afc3b74e3b5e40/raw/fce3ec83467344dd4192e831cf53694e0bfc8f21/pure1_token_factory.py >> pure1_token_factory.py
So this pulls the file from GitHub and then just stores it in a file called pure1_token_factory.py. If your instance doesn’t have web access you will need to download it manually and move it or copy/paste the code. Whatever you prefer.
python3 ./pure1_token_factory.py pure1:apikey:iRT5OwhslZVLWNGG private.pem

Now you can copy the returned JWT and authenticate with Pure1! For instance use it in the vSphere Web Client Plugin.
Note that this script generates a JWT that will be valid for 1 year. You can increase/decrease this by changing expire_seconds=31556952 on line 43
The full process:
openssl genrsa -aes256 -out private.pem 2048
openssl rsa -in private.pem -outform PEM -pubout -out public.pem
cat public.pem
Add key to Pure1…
sudo apt install python3-pip
pip3 install -r https://pure1-scripting.s3-us-west-1.amazonaws.com/requirements.txt
curl https://gist.githubusercontent.com/codyhosterman/697ebfd72c4f7f7276afc3b74e3b5e40/raw/fce3ec83467344dd4192e831cf53694e0bfc8f21/pure1_token_factory.py  >> pure1_token_factory.py
python3 ./pure1_token_factory.py <your application ID> private.pem