
A lot of the time when we talk about vVols and snapshots we talk about restoring the virtual disks (the data vVols). This of course is a huge benefit of vVols–the virtual disks are 1:1 to a volume on the array so the snapshots (and other array features) can be used at a level of virtual disk. Need to restore a database on virtual disk B (the E:\ drive or whatever), just use the snapshot restore to instantly refresh the entire disk. No need to mount a copied datastore, resignature, remove the old disk etc. etc. Just copy from the snapshot to the vVol volume and re-mount the file system in the guest. Fast and easy.
VMware snapshots exist with vVols too–they create array-based copies. But when you restore from them, you restore the whole VM. And the existence of them complicate the VM configuration–extra pointers and files etc. So a common vVol option is to just temporarily use VMware snapshots for backup procedures or for one off protection of VMs while I run an upgrade etc and then delete it when it works.
What if I want to refresh the VM configuration from a snapshot? Keep the data on the disk as is, but refresh the VM config files (VMX mainly) from a snapshot?
This is possible from a VMFS but quite complex. For a vVol VM this is really simple. Process?
- Shutdown VM.
- Copy from snapshot to config volume.
- Reload VMX
- Power-on VM.
So for some background, in a vVol world the VM directory (which houses the VMX file, some logs, virtual disk pointers, and some other frivolities) looks like a folder. But in reality it is a logical pointer to a volume on the array. This volume is called a config vVol and each “directory” in the vVol datastore maps to one. This config vVol is actually a mini VMFS. See more details here
Since this is a volume, you can of course take snapshots of it. There are a few ways to do this, either create one off snapshots of it or through protection policies.
One off snapshots:
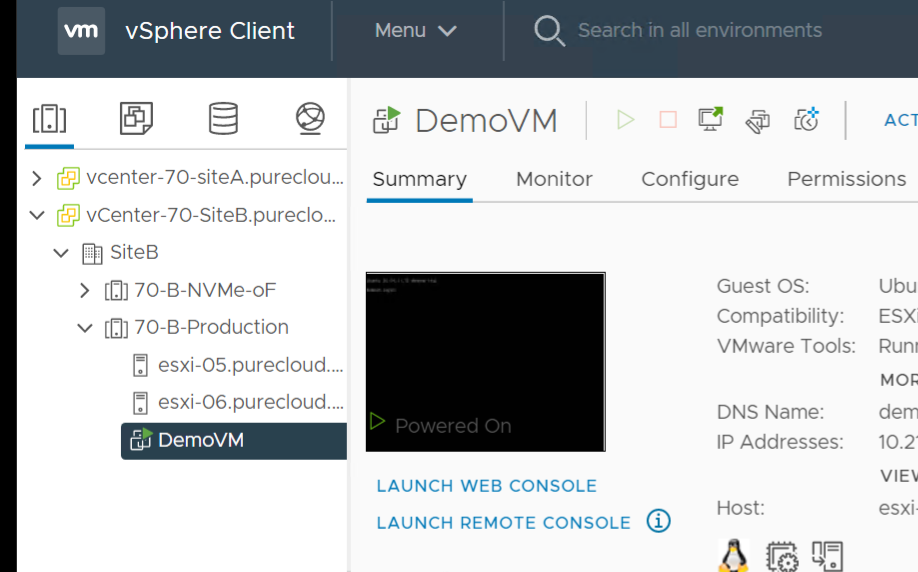
You can use the vSphere Plugin to do this, click on the VM then Summary tab.
Then find the FlashArray panel:
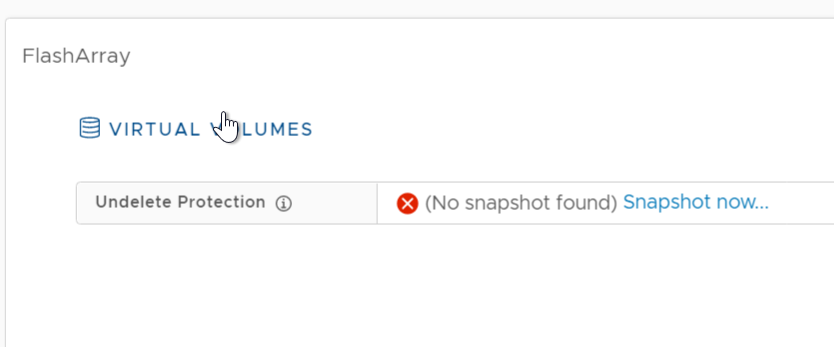
We have a feature called Undelete Protection–to allow for this there needs to be at least one snapshot of the config vVol. This can be manually created here, or through SPBM (more on that next). This feature can also just be used to easily create a one-off snapshot of the config vVol.
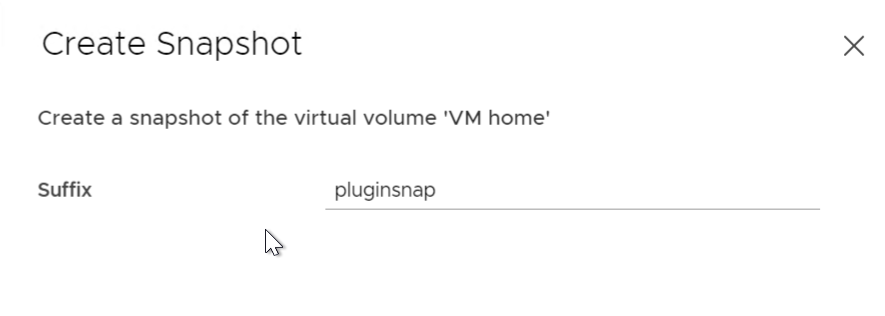
Click Snapshot Now…
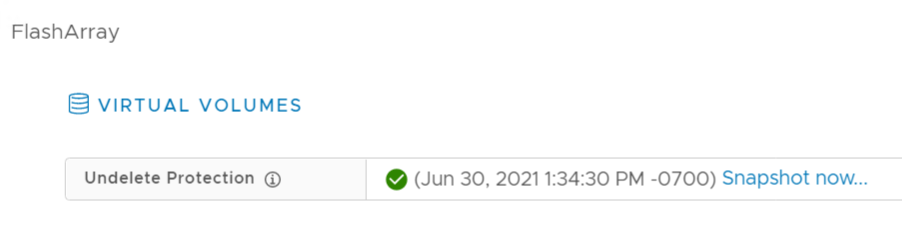
This will then show the latest snapshot:
You can do this manually too (through the FlashArray GUI, REST or CLI) and here is the option for the GUI. Find the right config vVol, easiest through the vSphere Plugin:
Click on the VM, then Configure, then Pure Storage > Virtual Volumes and find the VM Home disk.
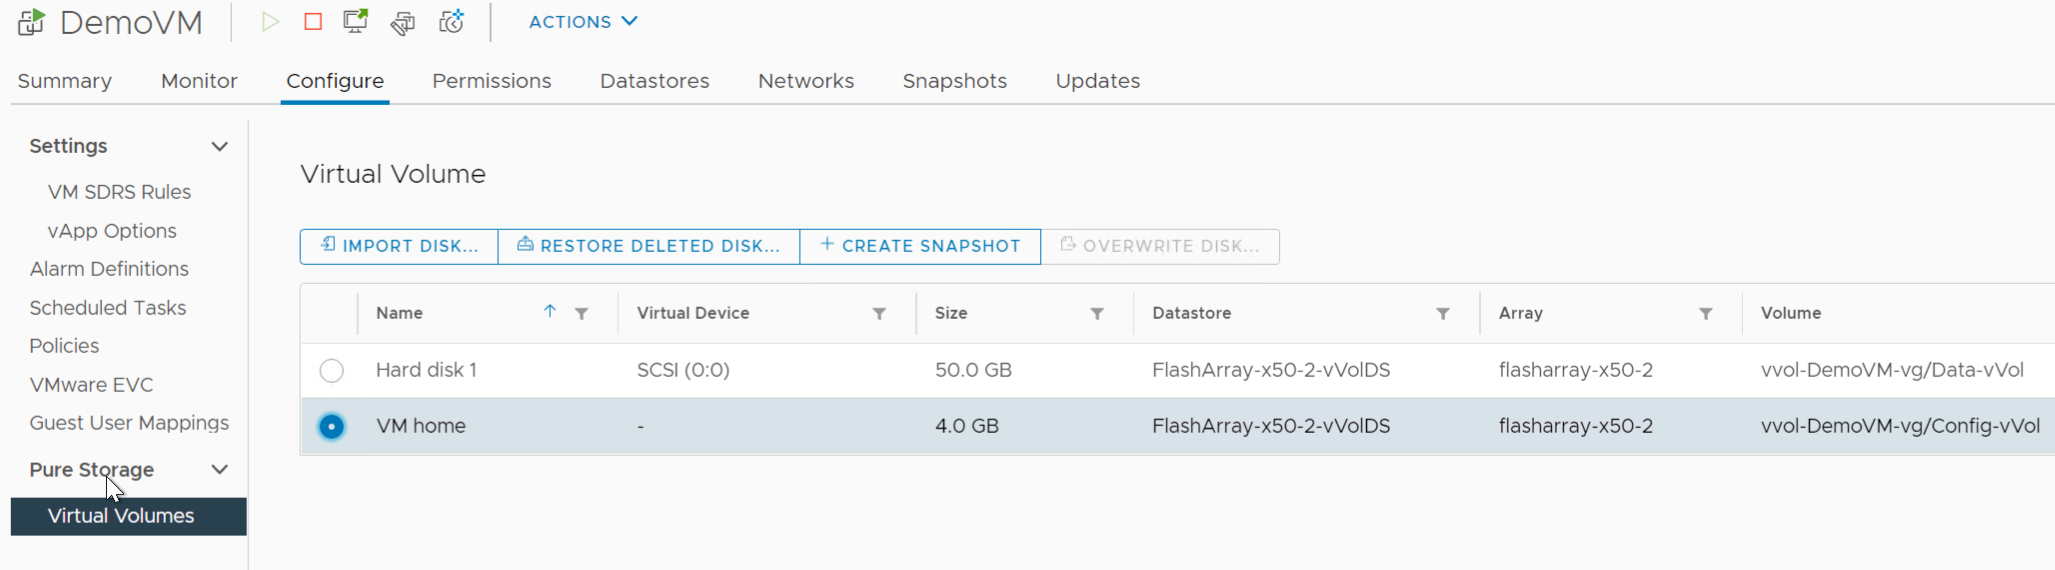
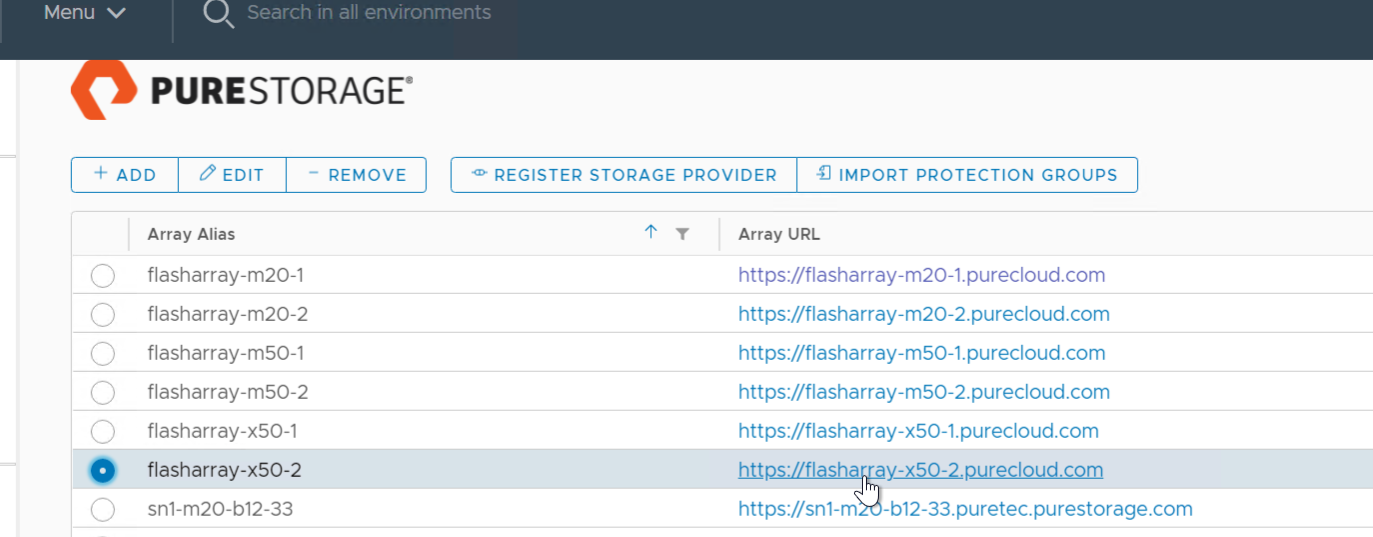
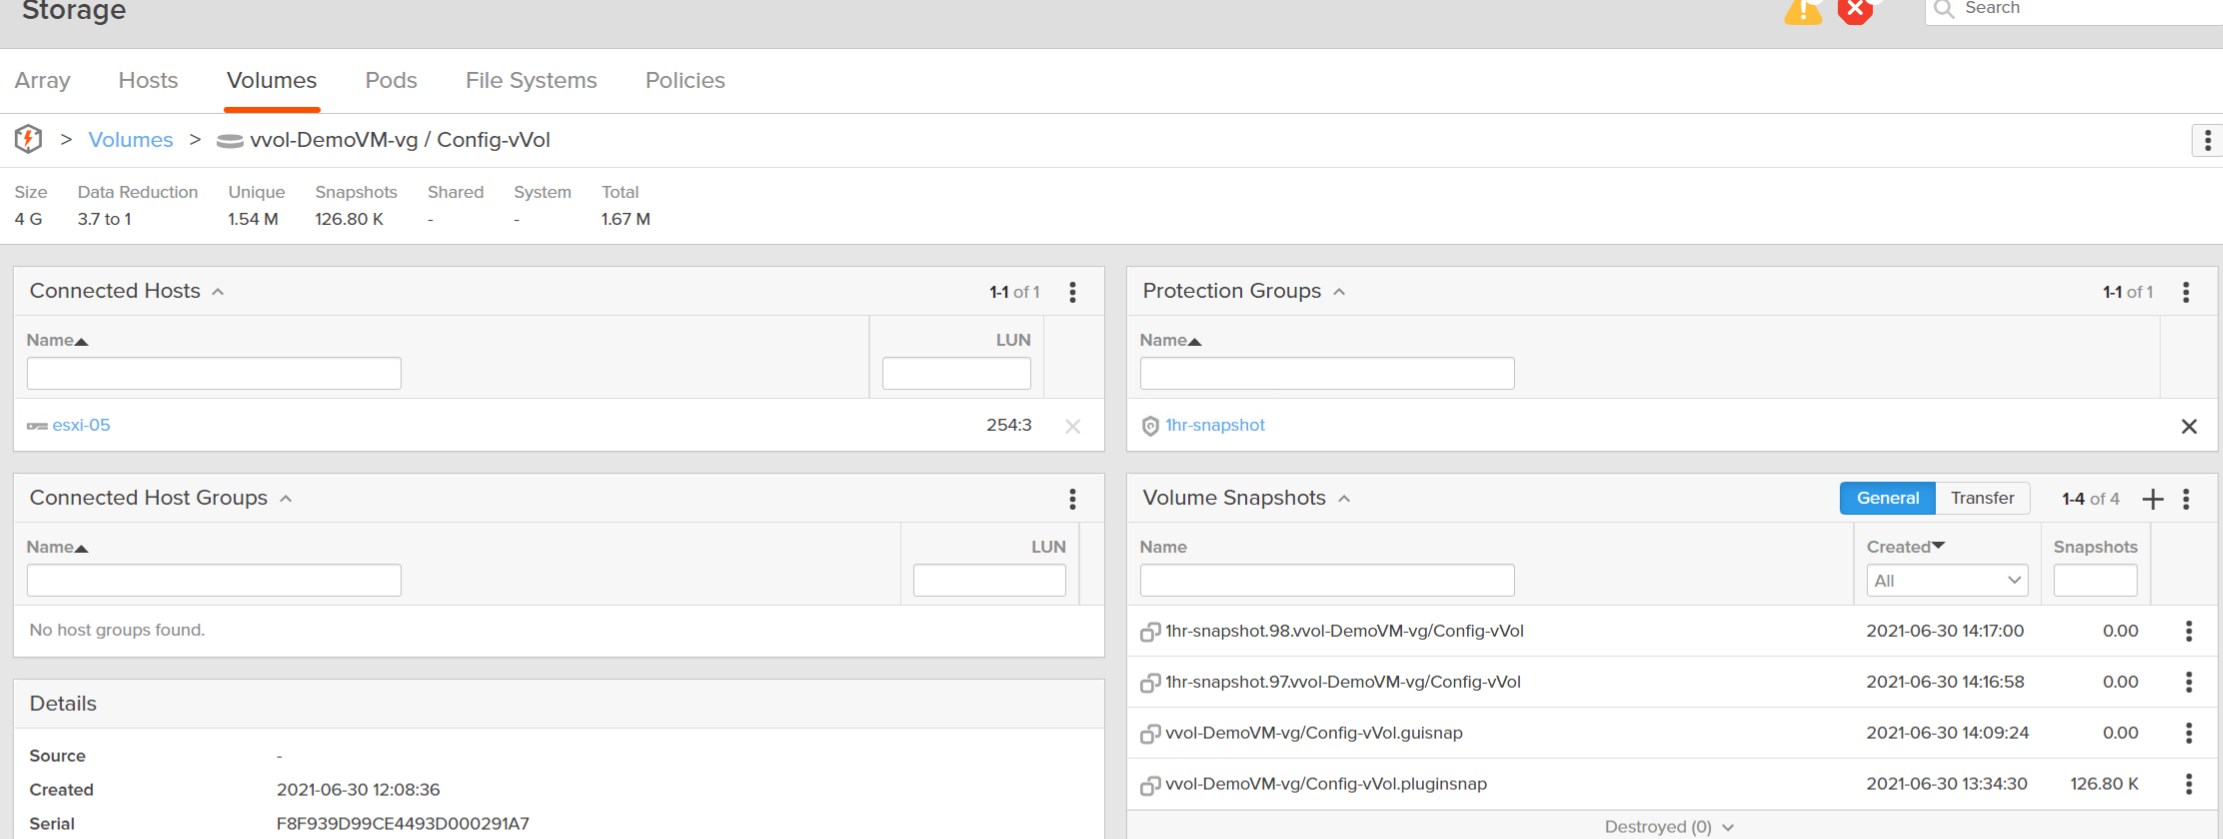
This case the config vVol’s name is vvol-DemoVM-vg/Config-vVol. Flip to the FlashArray web interface, you can figure that out on the same screen. You can be re-directed to the array UI from the Pure Storage plugin home screen by clicking on the array:
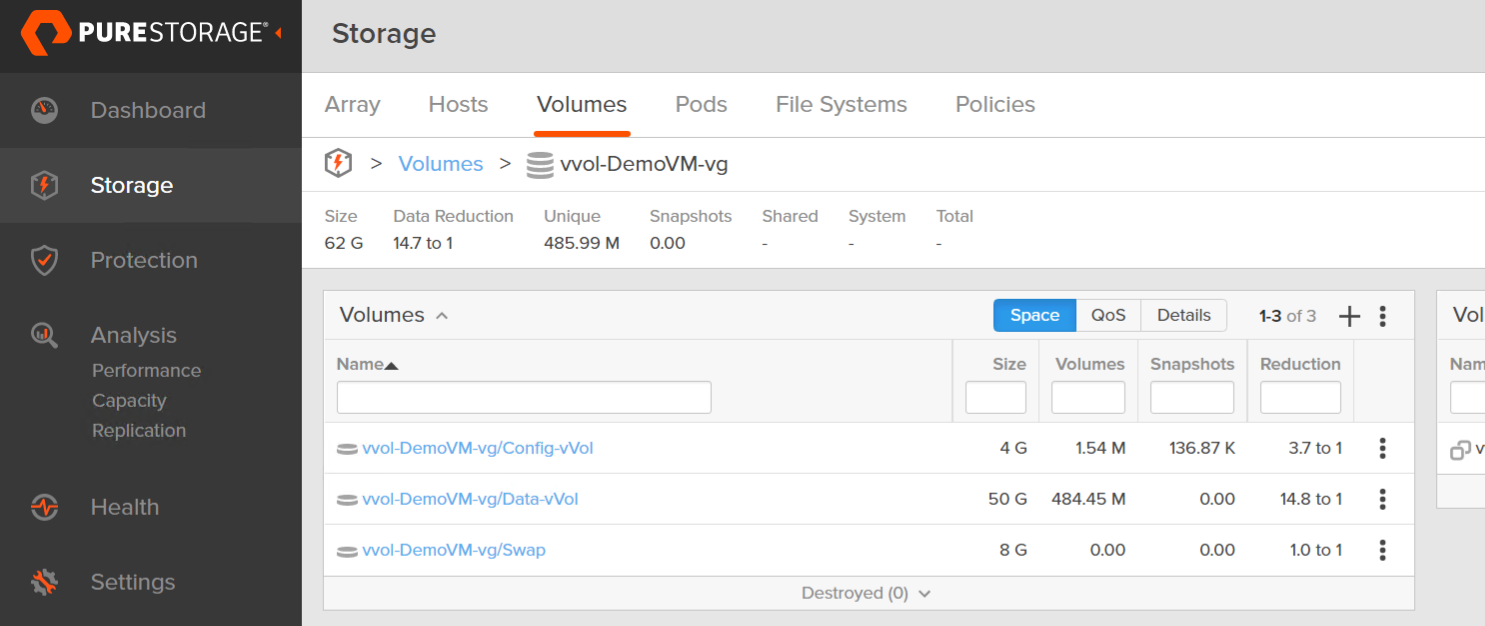
Find the volume or go to the volume group and find the volume (volume group has VM name in it).
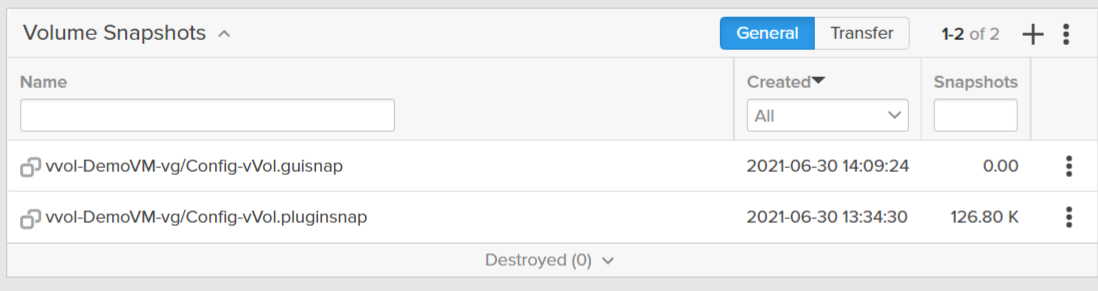
Click on the config vVol and go to volume snapshots and choose Create…
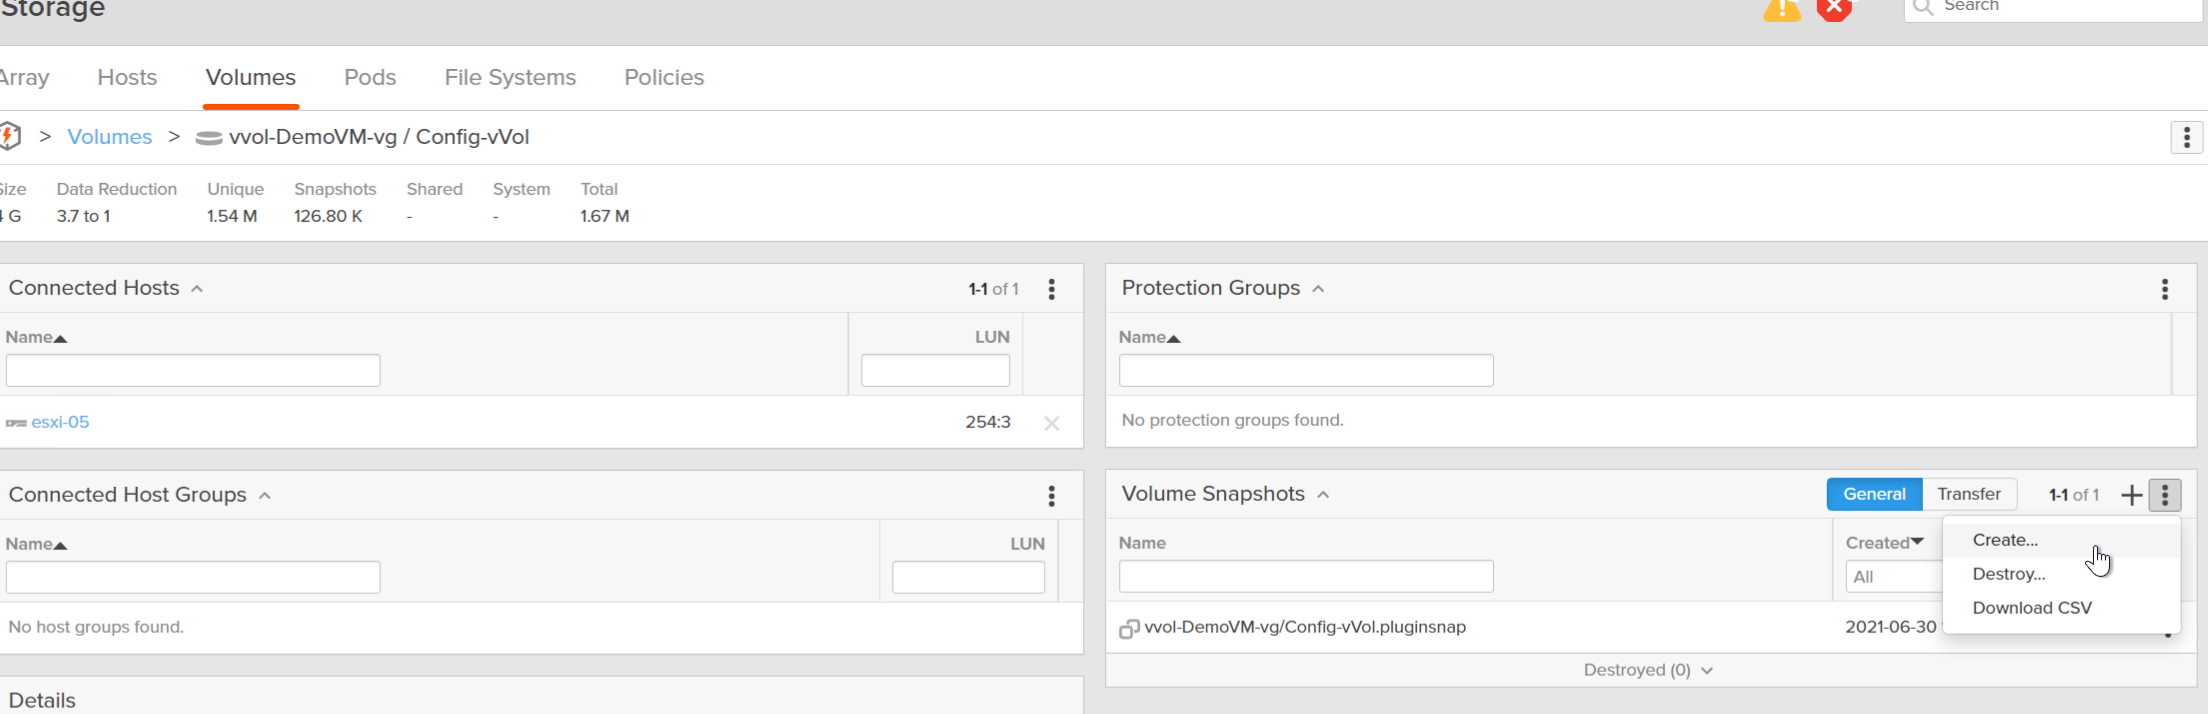
You can see both one off snapshots now.
Storage Policy Assignment
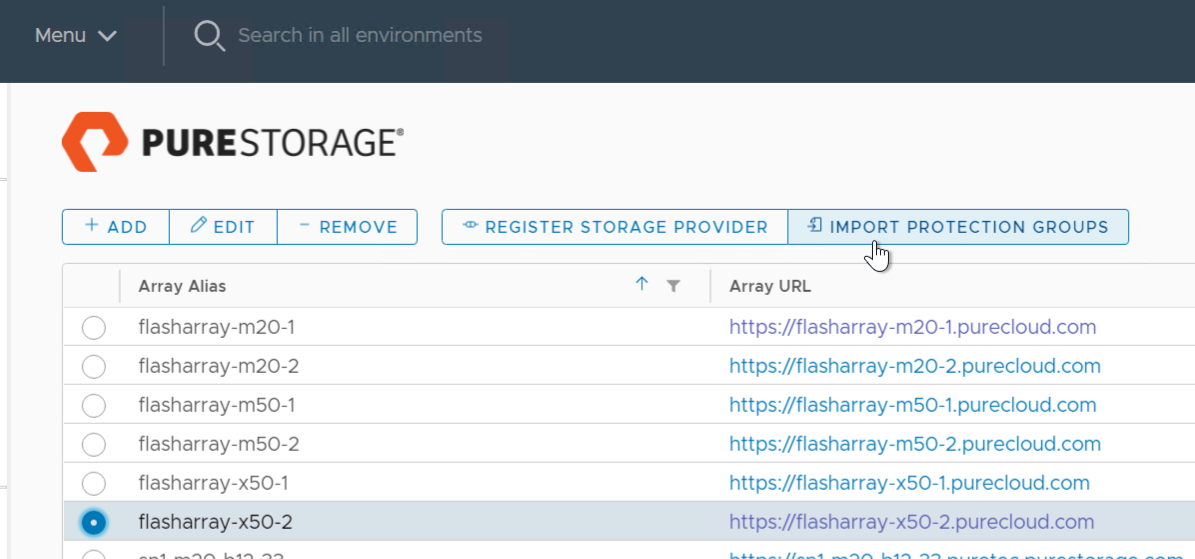
The best way to do this is to use FlashArray protection groups via Storage Policy Based Management. Create a policy either manually or via the vSphere Plugin. To do the latter, click on an array and choose Import Protection Groups.
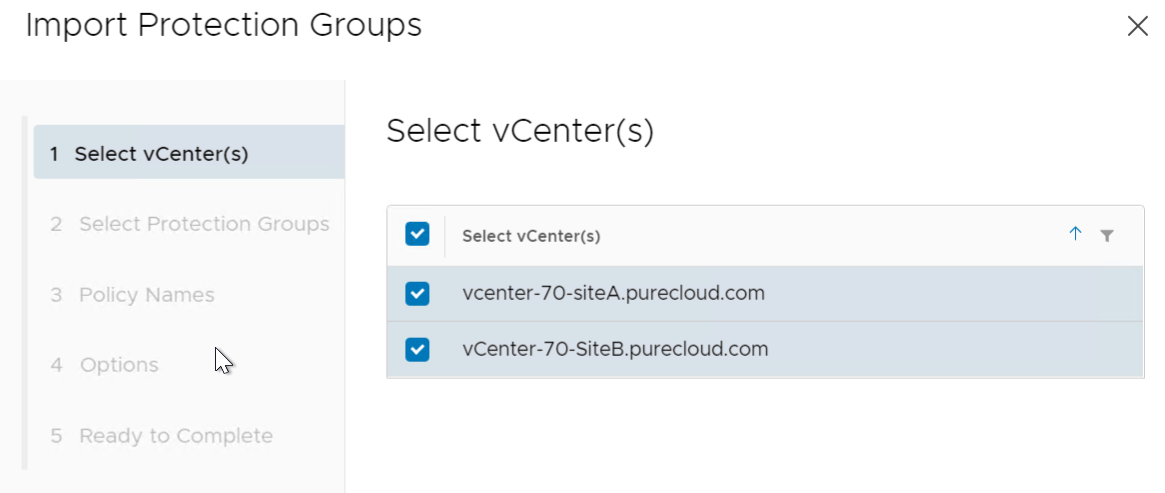
Choose vCenter(s)
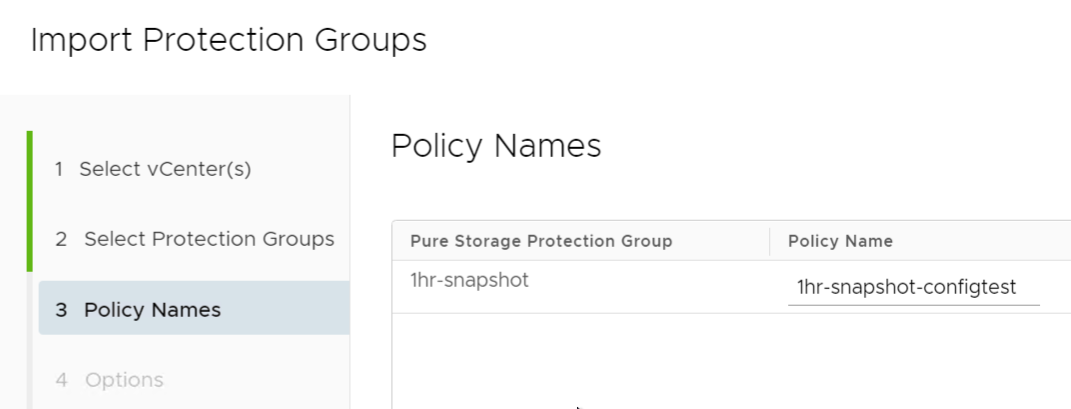
Choose a FlashArray protection group (policy). If there are none you need to create one.
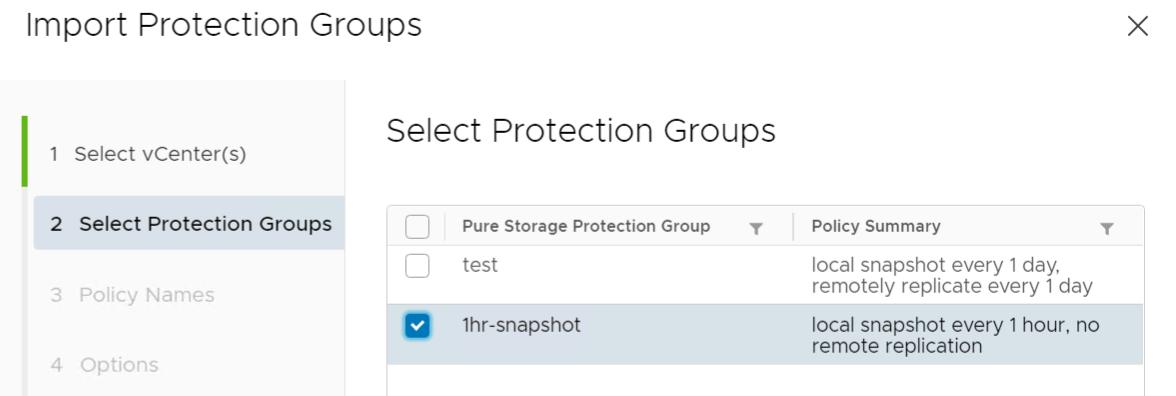
This one creates snapshots hourly.
Choose a name for the policy.
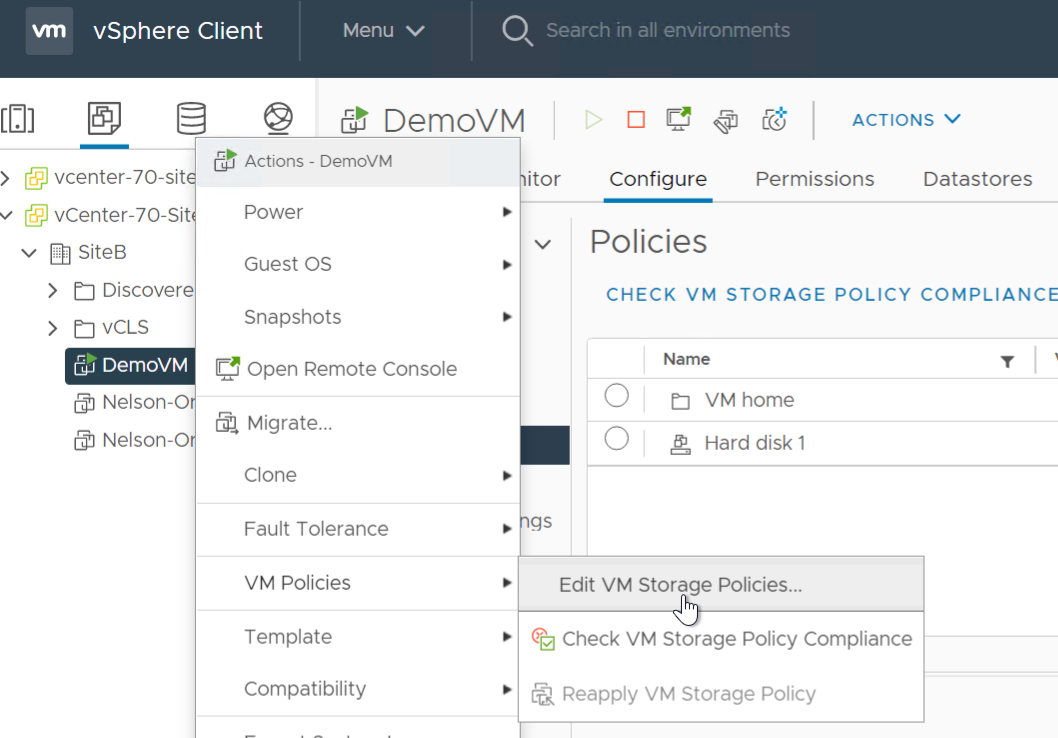
Complete the wizard. Go to the VM.
Right-click and choose VM Policies > Edit VM Storage Policies.
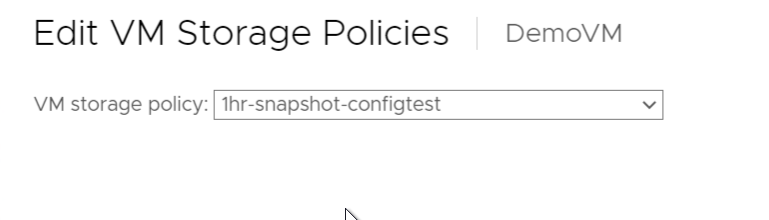
Choose the policy.
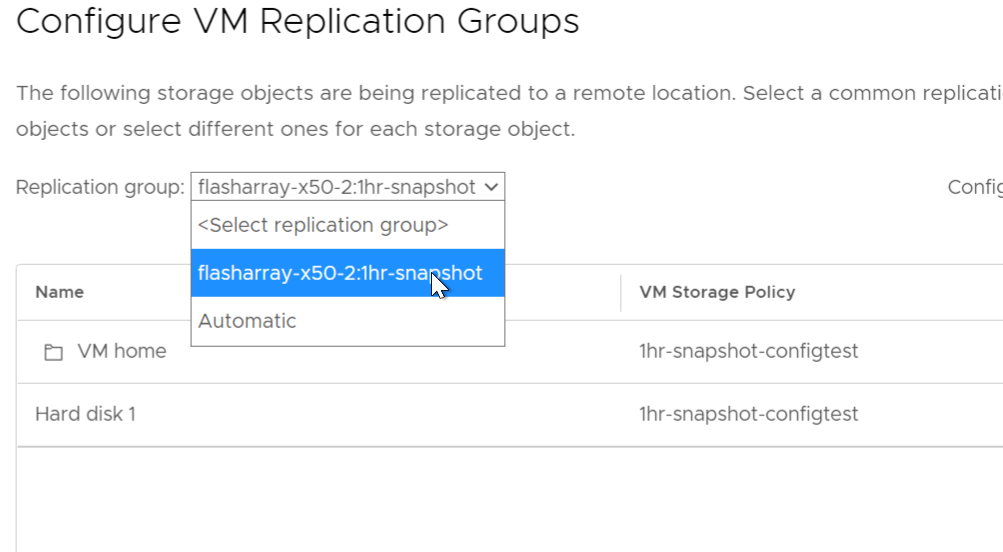
Then click Configure to choose the exact consistency group.
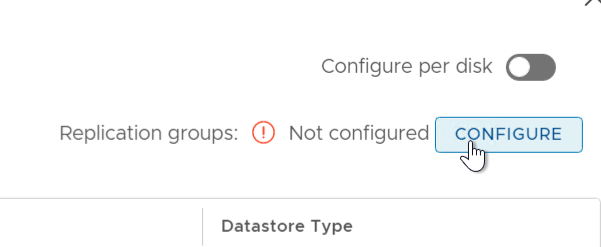
Choose the group and click OK.
You can quickly see the VM volumes are now protected by the protection group and snapshots are there.
Restoring the VM configuration
Okay so now I want to refresh the VM. So let’s just use a simple use case just to illustrate the point.
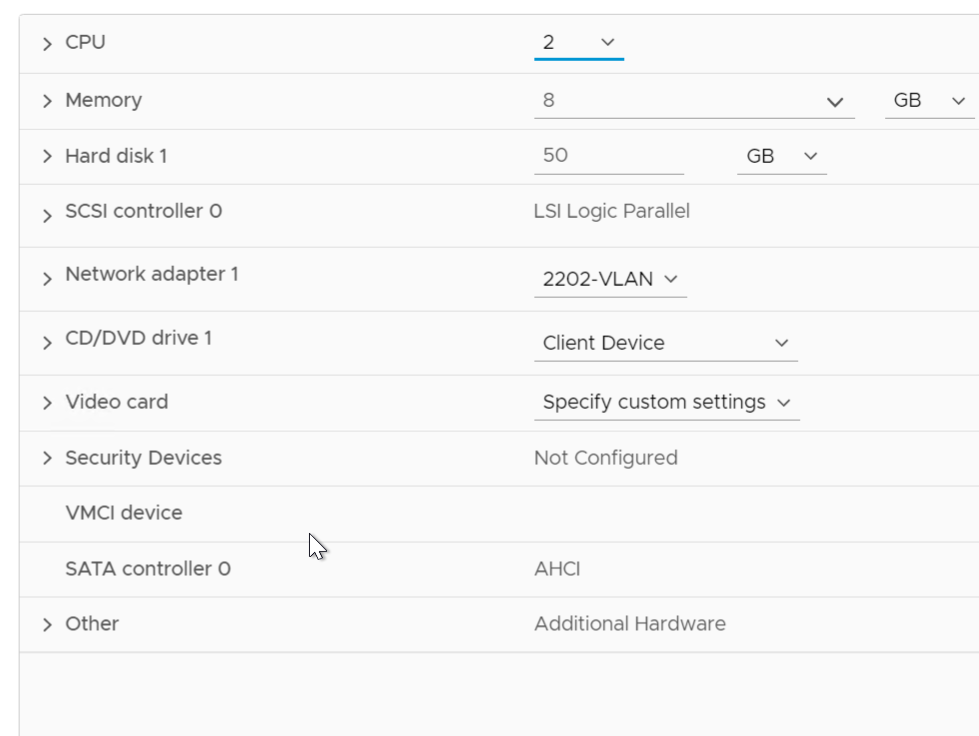
I add an NVMe controller.

For whatever reason I want to revert my VM. Maybe I made an advanced configuration change (or many) and I am not sure what changed, or am concerned about making it even worse.
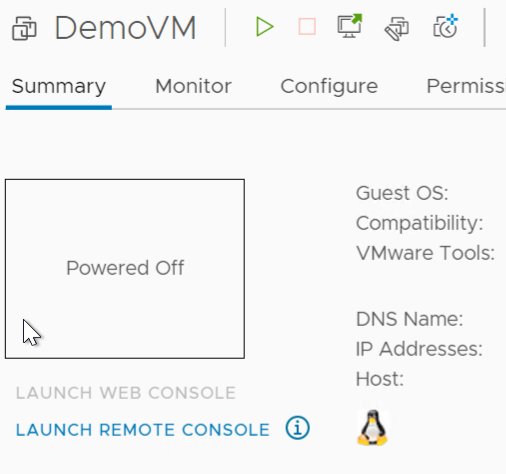
To revert, first power-off the VM. This is required.
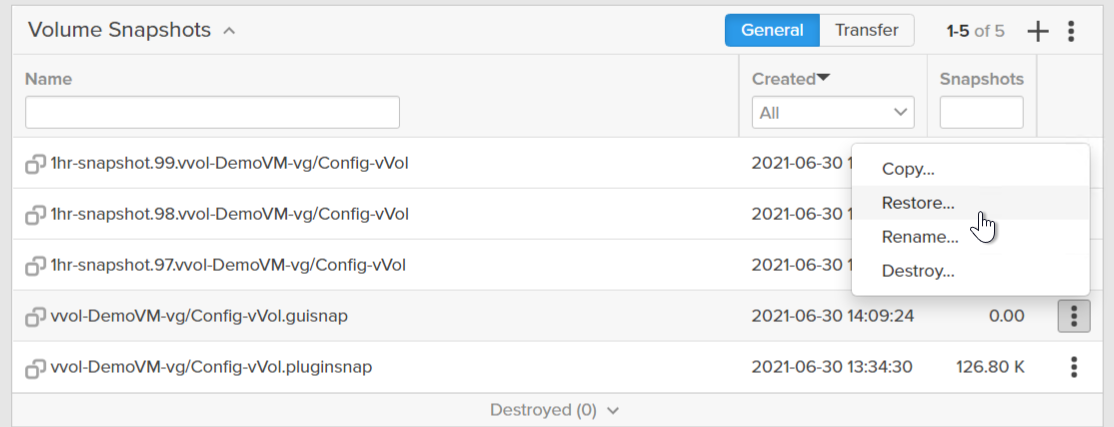
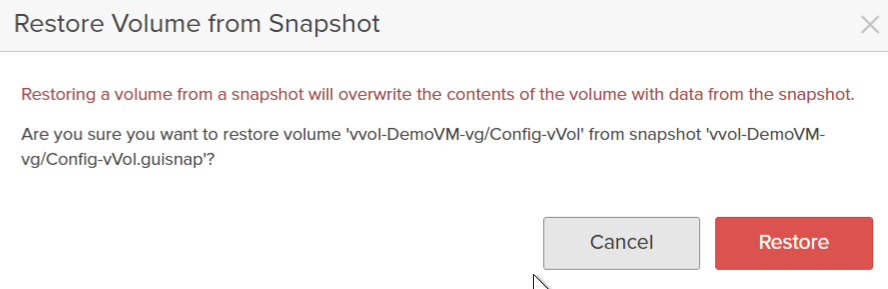
Then revert from the snapshot–today the Pure Storage plugin for the vSphere Client only allows you to revert data vVols, so go to the array and find the snapshot and choose “restore”.
Now the configuration files have been refreshed, but since the VM is registered the old version of the VMX file is still in-memory with the host. So that memory needs to be refreshed. There is a simple API to do this, you can do this with the Managed Object Browser or through PowerCLI. Here is the PowerCLI method:
$vm = get-vm demovm
$vm.ExtensionData.Reload()
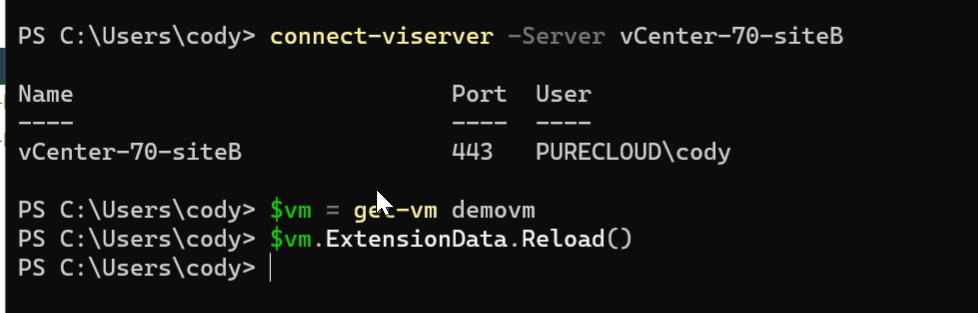
You will see this task in vCenter:

If you look a the VM configuration the NVMe adapter (in this case) is gone.
Now granted it is easier to just remove the NVMe adapter online, but this provides a simple way to revert to a known good state when lots of changes occurred, the VMX is in bad shape, or something unknown was changed without also resetting the data in the VM like a managed VMware snapshot would do.
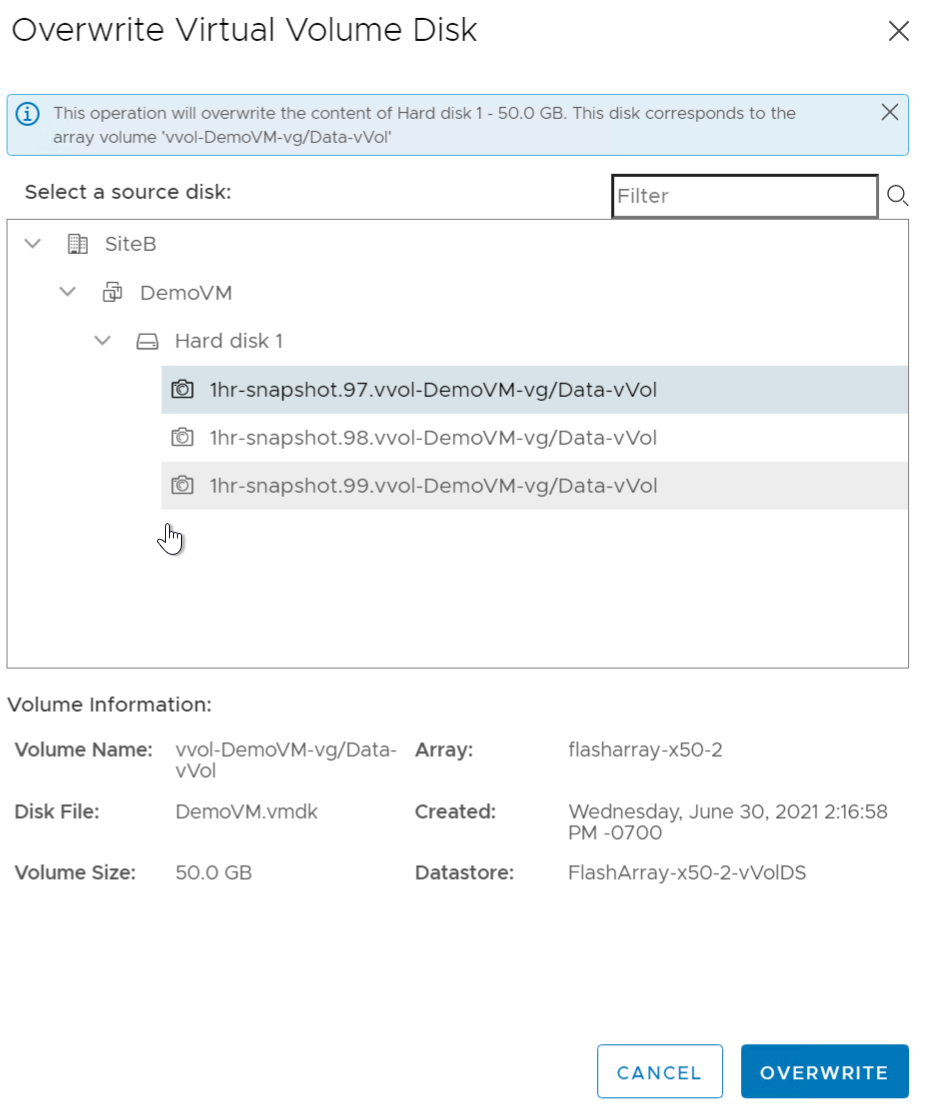
If you then want to revert one or more of the data vVol (virtual disks) you can do that too.
Does removing the VM from inventory, and then re-adding it accomplish the same thing as reloading the extension data? Or does reloading the extension data also delete the lock, swap, and other files that only exist when the VM is powered on (like it was when the snap was taken)? I have only tried restoring one VM from snapshots so far, but what I did was remove it from the vCenter inventory, restore the config and data VVols, delete the lock, swap, and other temp files, and then add the VM back to the inventory. I don’t know if I really needed to delete those files, or not…. My guess is I would have at least needed to delete the vmx lock file, right? The process I used was a bit more manual than I would prefer, so maybe I will switch to using the extension data refresh method instead. I am still curious as to exactly what that command does, though. Does it delete the files that I mentioned, or does it just basically re-add the VM to the inventory, and still leave those files in place? If those files do not need to be deleted for the VM to be powered back on after a restore, I think it would be easier to just remove and re-add the VM to the inventory, rather than running PowerShell commands.
On another note, do you happen to know when the “SafeMode” snapshot feature will be updated so that it can be applied more granularly? For instance, allowing us to enable that feature for specific Protection Groups? We would love to be able to enable that feature for our Protection Groups, but currently the feature can only be enabled for the entire storage system. At least, that is my understanding. We use Veeam for backups and replications (15 min. replications in some instances). We run a PowerShell script after each Veeam job completes, to destroy the vVols that were created and then deleted each time those jobs run. So, the problem with having to enable SafeMode across the entire array is that we would no longer be able to immediately destroy those deleted vVols. The immutability would cause those vVols to stick around for the entire 24 hours before being destroyed, and that would increase our disk usage by 15-20% on each of our two SANs. I can’t recall if that wait time before deleted vVol destruction is configurable…. Ours is set to wait 24 hours though, and if it is configurable, I wouldn’t even want to set it lower than that. If anything, I would want to set that value higher.
I hope that explains why we are in urgent need of a new feature that allows us to apply SafeMode on a per-Protection Group-basis. I passed this request on to our sales rep. several months ago, just in case it was not something that was already being worked on. We vitally need this ability.
Sorry… that got a bit off topic. I am curious if you have any info regarding development on this feature, though.
Thanks for all your hard work, and the information that you provide. It is very helpful.
Does removing the VM from inventory, and then re-adding it accomplish the same thing as reloading the extension data? Or does reloading the extension data also delete the lock, swap, and other files that only exist when the VM is powered on (like it was when the snap was taken)? I have only tried restoring one VM from snapshots so far, but what I did was remove it from the vCenter inventory, restore the config and data VVols, delete the lock, swap, and other temp files, and then add the VM back to the inventory. I don’t know if I really needed to delete those files, or not…. My guess is I would have at least needed to delete the vmx lock file, right? The process I used was a bit more manual than I would prefer, so maybe I will switch to using the extension data refresh method instead. I am still curious as to exactly what that command does, though. Does it delete the files that I mentioned, or does it just basically re-add the VM to the inventory, and still leave those files in place? If those files do not need to be deleted for the VM to be powered back on after a restore, I think it would be easier to just remove and re-add the VM to the inventory, rather than running PowerShell commands.
CODY: Fundamentally yes this does the same thing. I’d have to retest to be sure, but I thought those lock files got cleaned out on re-power on because they were no longer valid. But if you are going through the UI, your method is certainly easier. The main benefit to this option is that the MoRef doesnt change, so vCenter (and other monitoring tools) see it as the same VM so historical information does not get lost.
On another note, do you happen to know when the “SafeMode” snapshot feature will be updated so that it can be applied more granularly? For instance, allowing us to enable that feature for specific Protection Groups? We would love to be able to enable that feature for our Protection Groups, but currently the feature can only be enabled for the entire storage system. At least, that is my understanding. We use Veeam for backups and replications (15 min. replications in some instances). We run a PowerShell script after each Veeam job completes, to destroy the vVols that were created and then deleted each time those jobs run. So, the problem with having to enable SafeMode across the entire array is that we would no longer be able to immediately destroy those deleted vVols. The immutability would cause those vVols to stick around for the entire 24 hours before being destroyed, and that would increase our disk usage by 15-20% on each of our two SANs. I can’t recall if that wait time before deleted vVol destruction is configurable…. Ours is set to wait 24 hours though, and if it is configurable, I wouldn’t even want to set it lower than that. If anything, I would want to set that value higher.
I hope that explains why we are in urgent need of a new feature that allows us to apply SafeMode on a per-Protection Group-basis. I passed this request on to our sales rep. several months ago, just in case it was not something that was already being worked on. We vitally need this ability.
CODY: I cant talk about roadmap here, buuuuut I would highly recommend getting a Safemode roadmap from your sales team. I think you will be happy 🙂
Sorry… that got a bit off topic. I am curious if you have any info regarding development on this feature, though.
Thanks for all your hard work, and the information that you provide. It is very helpful.
CODY: You are VERY welcome!
I can’t get restoring the Config disk to have any effect. I see the VM reloads after the CLI commands, but the disks I removed after the snapshot still aren’t there.