One of our goals with Purity (our operating software on Pure Cloud Block Store which also of course runs on FlashArray) is to deliver the Evergreen Storage model to the cloud. This means we continue to innovate our platform with no changes to how you create, deploy, or manage the front end. Denser. Faster. More efficient. Cheaper. Better. More features. You subscribe to our storage–and it only gets better from there. There is no “sunk cost” on that subscription. In the case of the public cloud, we continue to analyze the available infrastructure and see how we can incorporate it into CBS to achieve one or more of those enhancements. Our engineering team becomes your cloud storage expert. We analyze, test, make our product better, and you get the impact.
Last year, a new storage tier in Azure became available in the form of Premium SSD v2. https://azure.microsoft.com/en-us/updates/general-availability-azure-premium-ssd-v2-disk-storage/
This is a new tier of storage, nestled between the existing Ultra SSD and Premium SSD (v1). When v2 became available, our engineering team dug in. I/O profiling, workload assessments, CPU interactions, and more. How does it behave? How can we take advantage of it? Does it make sense for us? After awhile, we found through all of the optimization we made in Purity and the general ways of how Purity works, we could incorporate it. Our early efforts in the use of commodity SSDs at Pure and then the transition to direct flash modules have only continued to pay off in ways unrelated to hardware flash.
This week, we released our next update to Pure Cloud Block Store in Azure. This new version, 6.4.7, includes support for Premium SSDv2 as well as new VM controller types in the E-series. What does this mean?
This new version is 2-3x more cost efficient to run than our previous version (which was already saving customers money).
It is also up to 30% faster in terms of IOPS and throughput.
It even has improved latency consistency due to some engineering work to take advantage of the newer Intel processors in the new Azure VM controller type we chose.
The product only gets better: Faster AND Cheaper. Our goal is to allow you to spend your budget in more strategic ways in the cloud–no more should storage be a top line item in your bill. Spend that money to transform your business.
So if you are looking to optimize your storage costs, look no further. With this latest version, we improve that ROI even more. Premium SSDv2 drops our operating costs by 2-3, while thin provisioning and data reduction further drops the spend on storage (average data reduction still hovers around 5 to 1), compounding the cost benefit. If you move directly to premium SSDv2, you can improve your costs, but if you move to CBS using Premium SSDv2 you can improve them far more.
Plus you get:
- Instant immutable snapshot creation and restore
- Snapshot policies
- Continuous Asynchronous Replication
- Snapshot replication
- Snapshot offload to object or file
- Synchronous Active-Active replication
- QoS
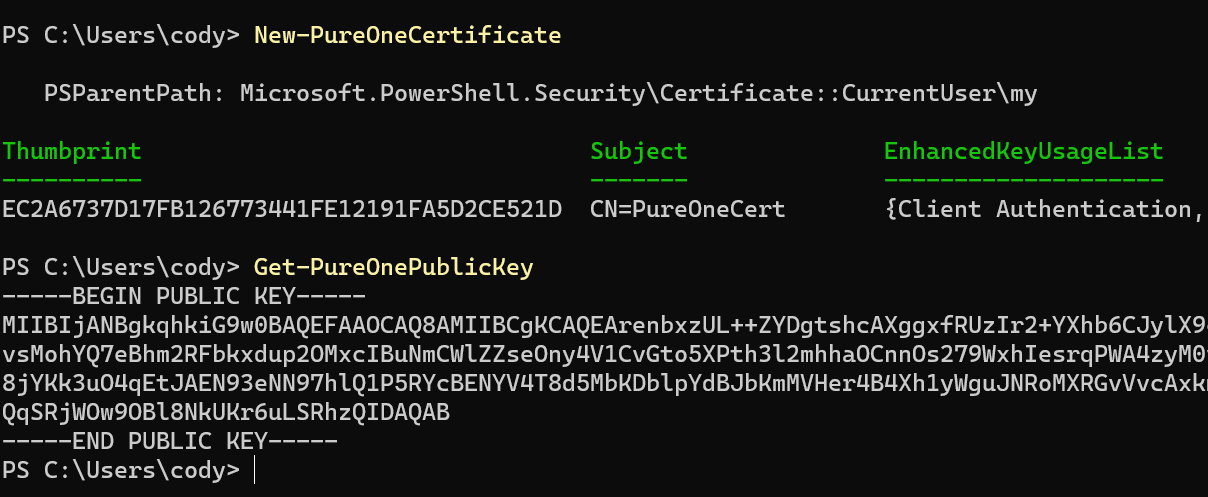
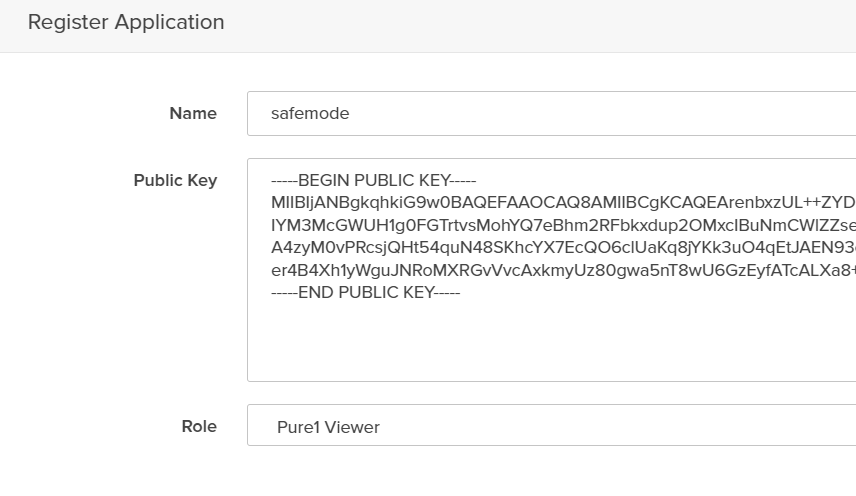
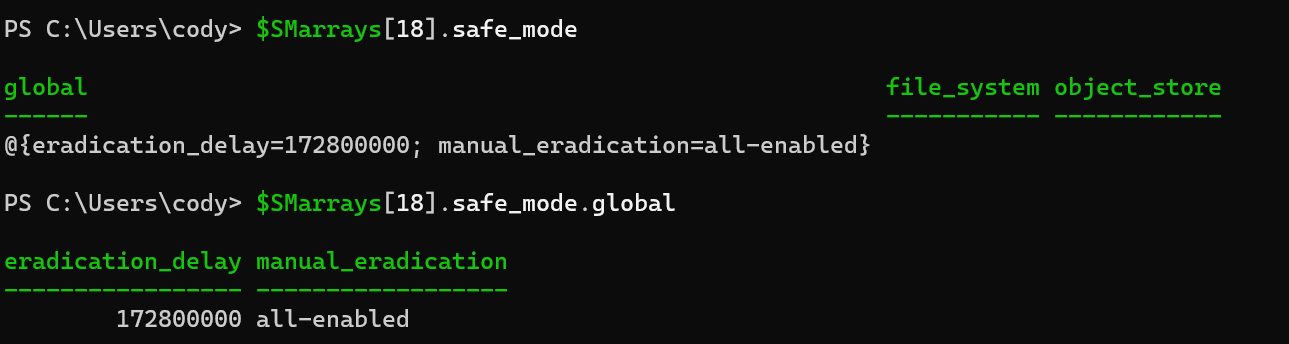
- Ransomware restore protection via Safemode
- ActiveWorkload
- Volume Mobility
- Hybrid Replication
- Consistent APIs and integrations
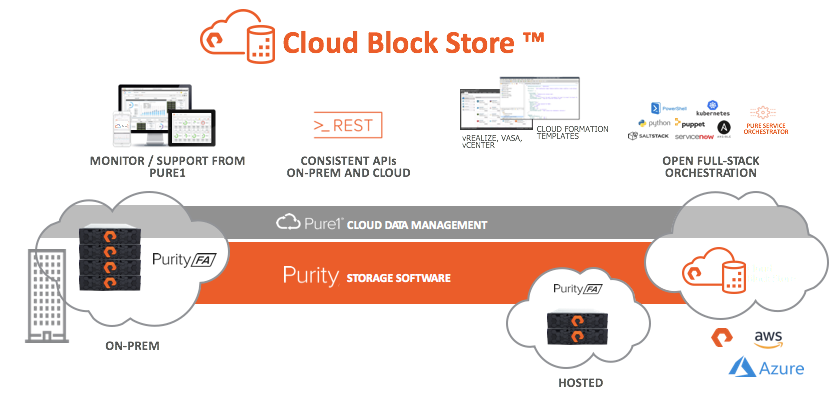
Don’t forget Pure Cloud Block Store can be entirely run and managed by Pure Fusion–allowing you to customize and manage your CBS (and/or FlashArray) fleet via the policy-driven, storage-as-code platform.
What excites me about all of this? We are just barely getting started.