
I have already posted about ActiveDR briefly here:
I wanted to go into more detail on ActiveDR (and more) in a “What’s New” series. One of the flagship features of the Purity 6.0 release is what we call ActiveDR. ActiveDR is a continuous replication feature–meaning it sends the new data over to the secondary array as quickly as it can–it does not wait for an interval to replicate.
For the TL;DR, here is a video tech preview demo of the upcoming SRM integration as well as setup of ActiveDR itself
But ActiveDR is much more than just data replication is protects your storage environment. Let me explain what that means.
Pods
In Purity 5.0 we introduced the concept of a pod. A pod is a namespace, or a tenant in other words. You can create a volume in that pod that might have the same name as some other volume in some other pod and it doesn’t matter.
When you first create a pod it exists on only one array. You can move volumes in and out of it, create new volumes, create protection groups, volume snapshots, etc.
So a standalone pod is basically just an aggregated pool of storage objects–you can report on the overall capacity and performance.
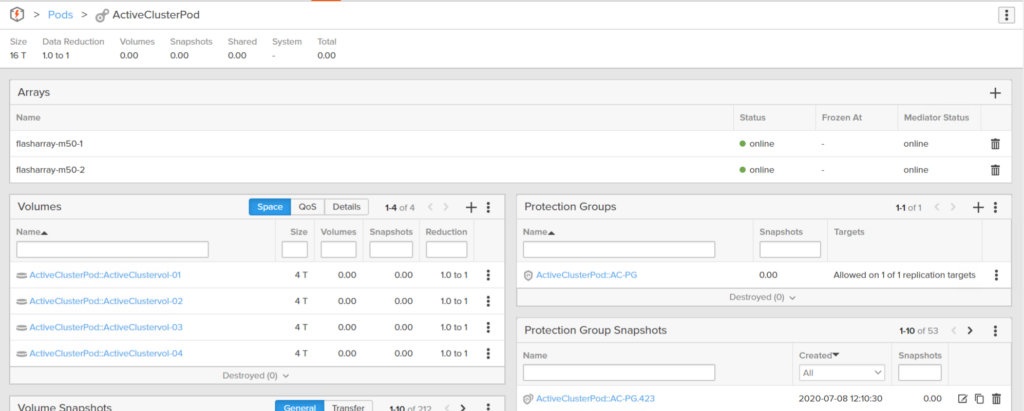
You can then add a second array to that pod. This makes all of the volumes, their snapshots, the protection groups, etc available on two arrays now. The pod is referred to as being “stretched” across two arrays. It is basically like adding two more controllers to that FlashArray specifically for the volumes in that pod–though those controllers can be very far away (up to 11 ms RTT). This is configuration is industry termed active/active replication. The volumes can be read from and written to, on both arrays, at the same time. Pure Storage calls this feature ActiveCluster. When you create a volume in a stretched pod it is immediately available on both arrays. When you create a snapshot of that volume, it can be used to restore from or copy from on both arrays. If you lose either, all data, all objects, are still available on the surviving array with no failover required.
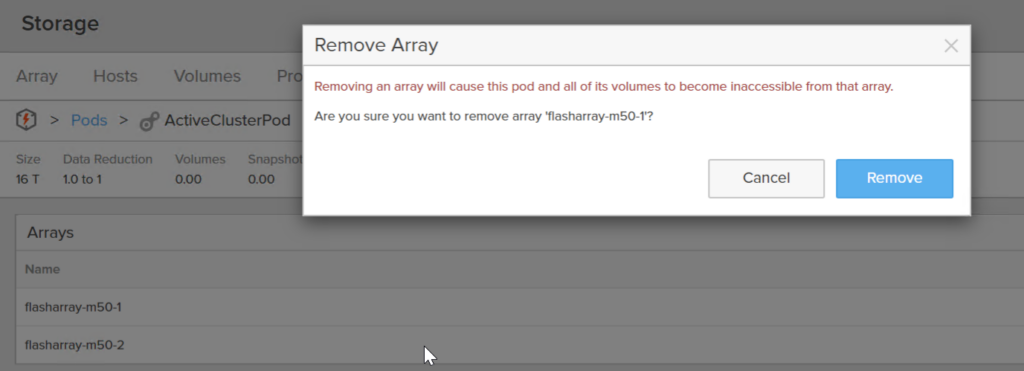
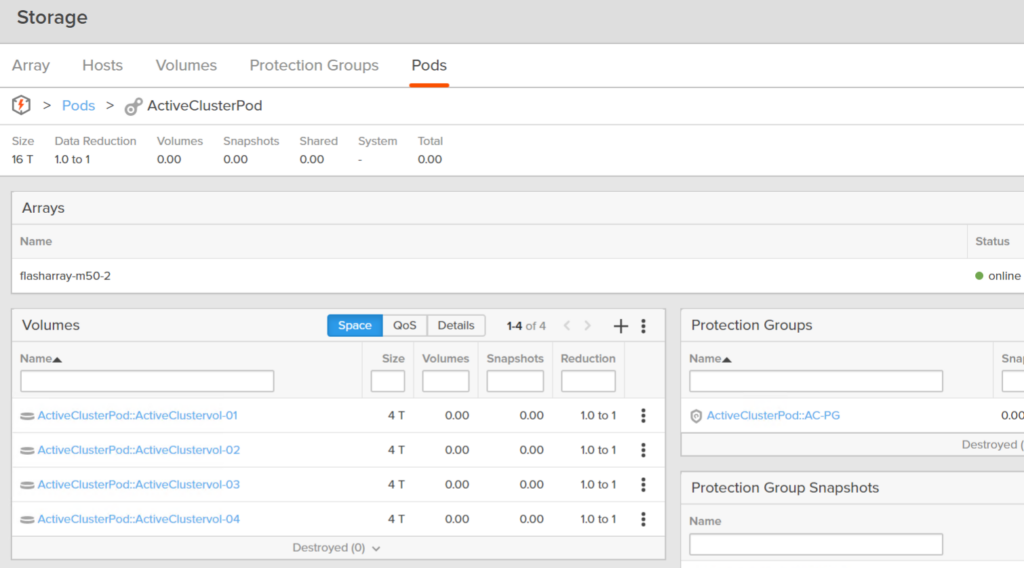
If you then remove the original array from the pod, the entire pod will cease to exist on the original array and now only be available on the 2nd array:
By adding a new array to the pod and then removing the first one, you have essentially moved the pod (and all of its objects) from one array to another. Non-disruptively. A host sees paths added, then some removed.
So if the pod stays stretched, it is in an ActiveCluster state. If you added one array and remove one, you have temporarily used ActiveCluster to move the volumes, their snapshots, the protection groups, the protection group snapshots, to another array.
What we added in Purity 6.0 was the ability to link one pod on one array to another pod on a different array. So unlike ActiveCluster, these are two distinct pods. The objects in the source pod are copied over to the target pod. The volumes, the snapshots, the volume configurations, the protection groups, the protection group snapshots. But these objects all have different serial numbers, but store the same data. They are also not immediately available. There is some “lag” to their appearance. More on that in a bit.
Configuring ActiveDR
Before we get into the semantics of ActiveDR, let’s first set it up.
Create a local pod.
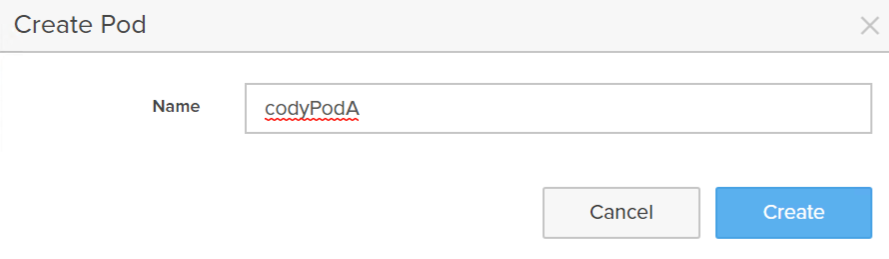
This creates an empty namespace (pod).
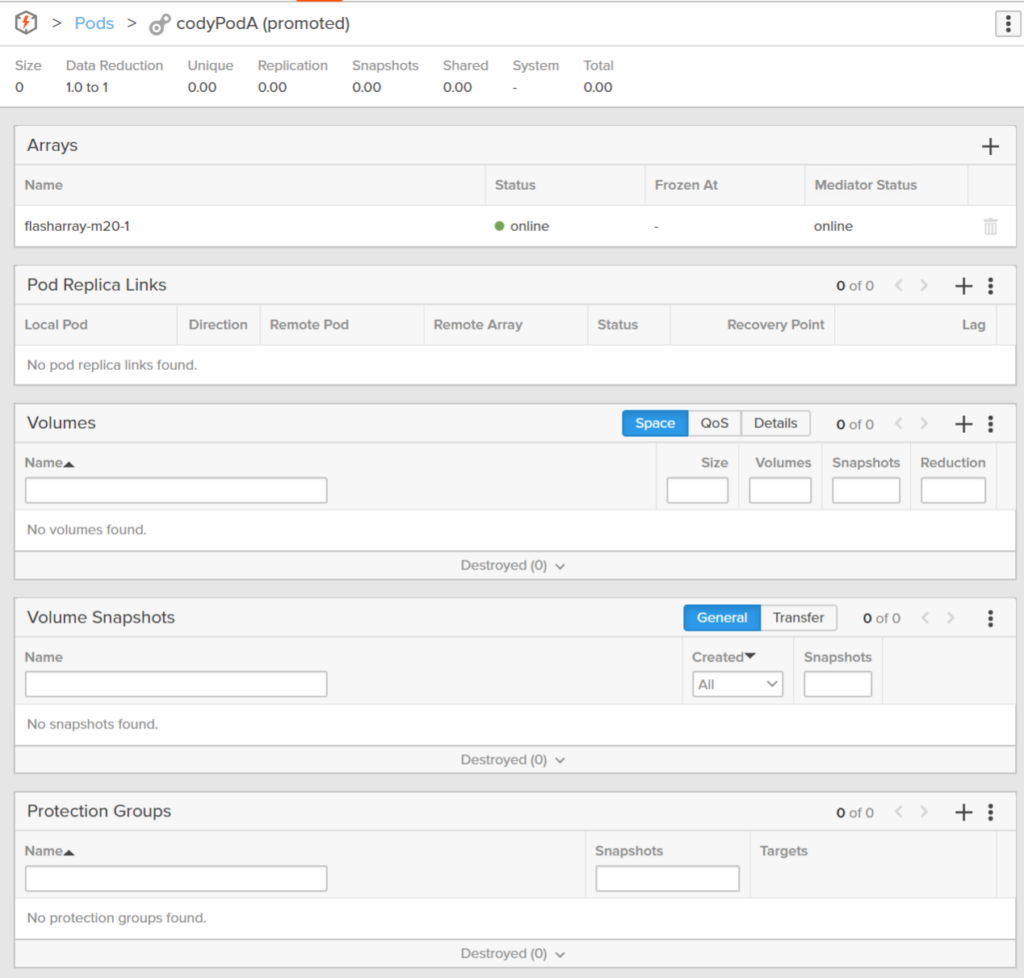
Now I can link it with a pod on a different array. Under Pod Replica Links click the plus sign.

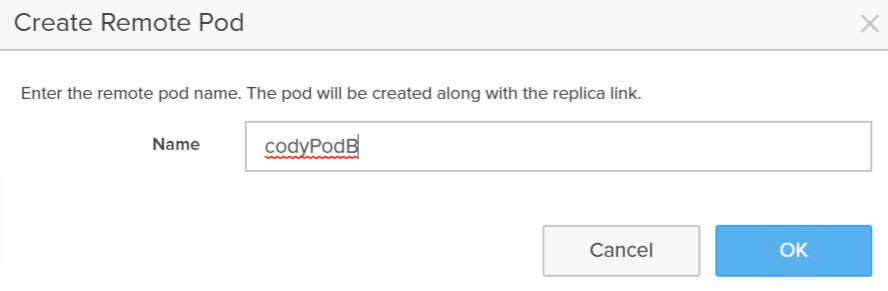
Now either choose a pre-existing pod on that array or click Create Remote Pod to create a new pod on that target array.
Why didn’t we just auto-create one? Well we could, but what would we call it? We’d want to ask for that name. So how is it that any different than this? It’s not.
Click Create.
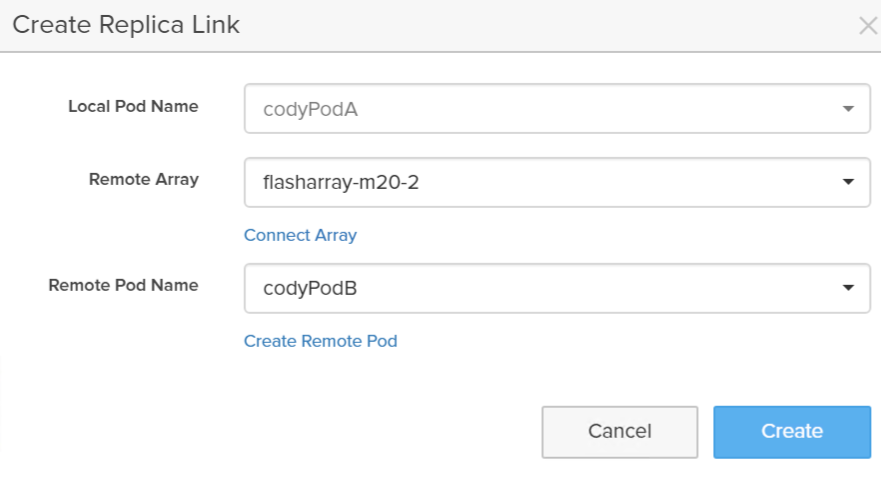
Congratulations! You have configured ActiveDR.
Now you can create volumes in it.
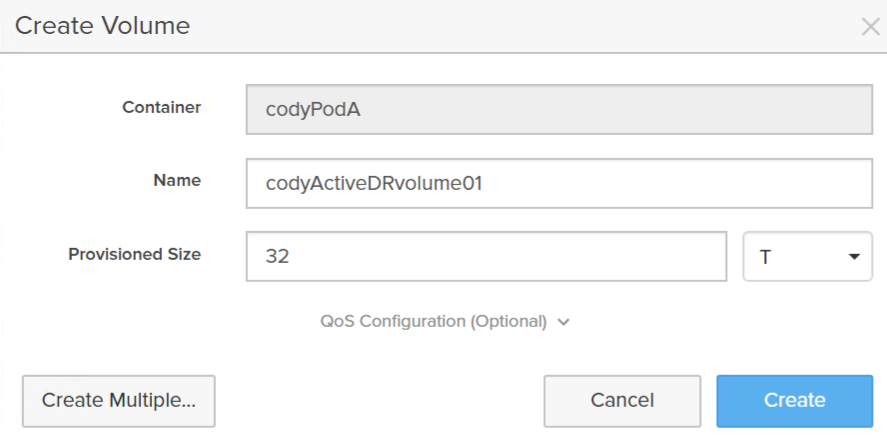
That volume is now in the pod and ready to use.
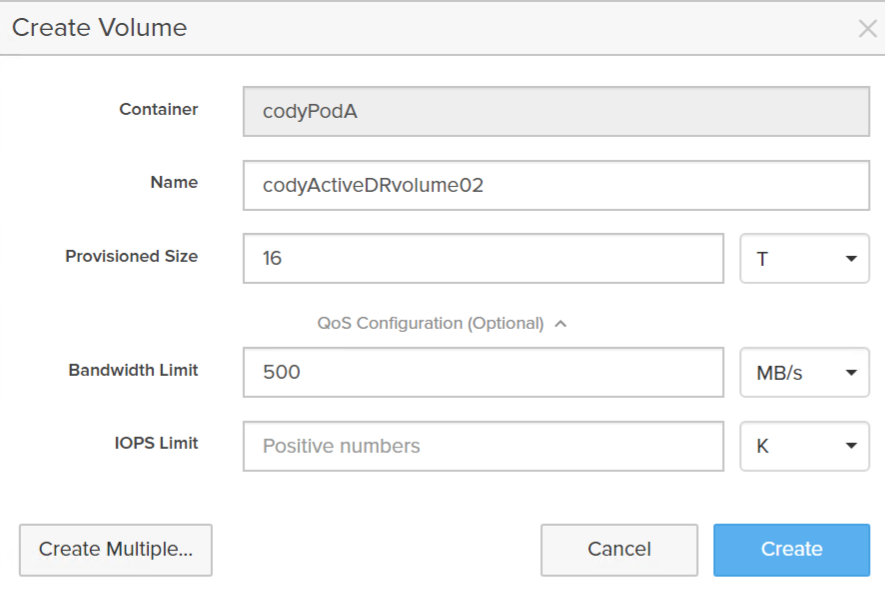
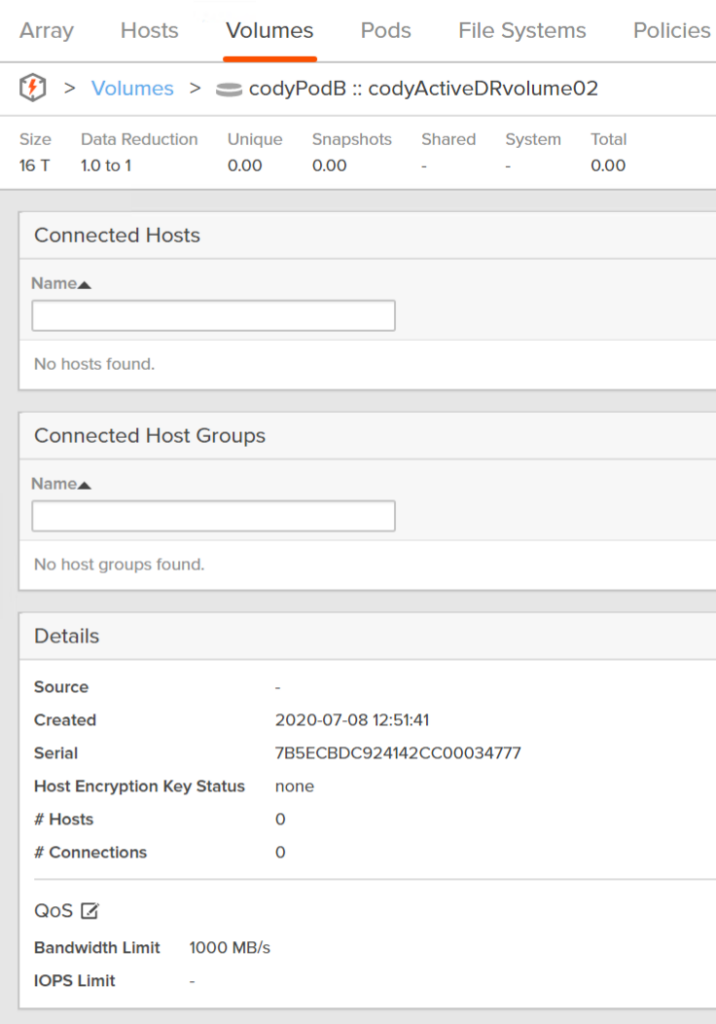
I will create another one, but for this volume, I will also configure a QoS limit on it:
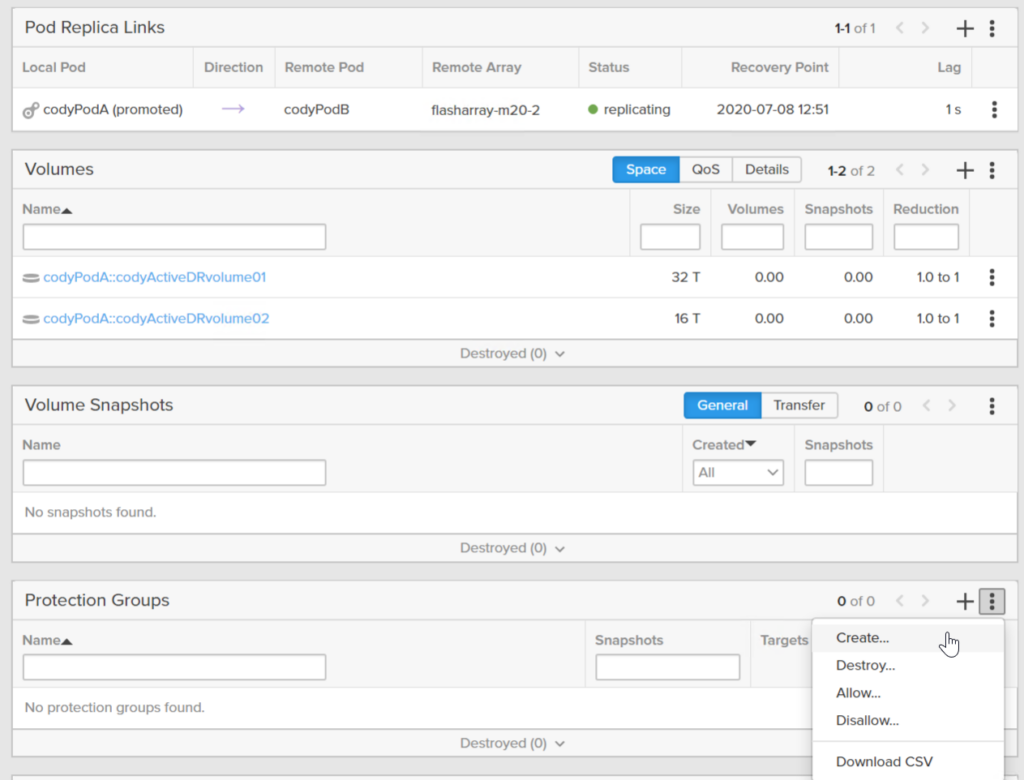
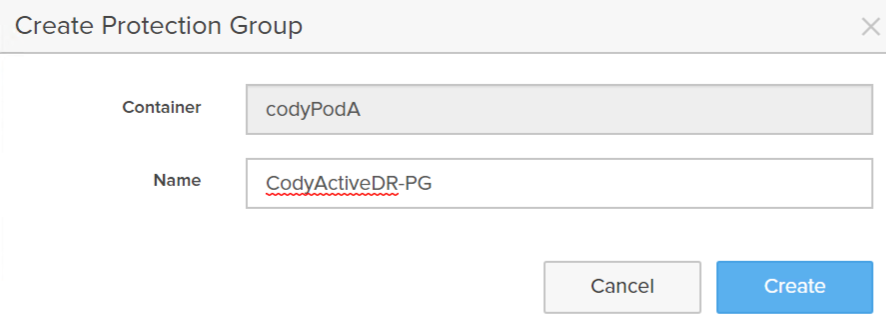
I will also create a protection group. A protection group provides the ability to create snapshots on a schedule of specified volumes.
Give it a name:
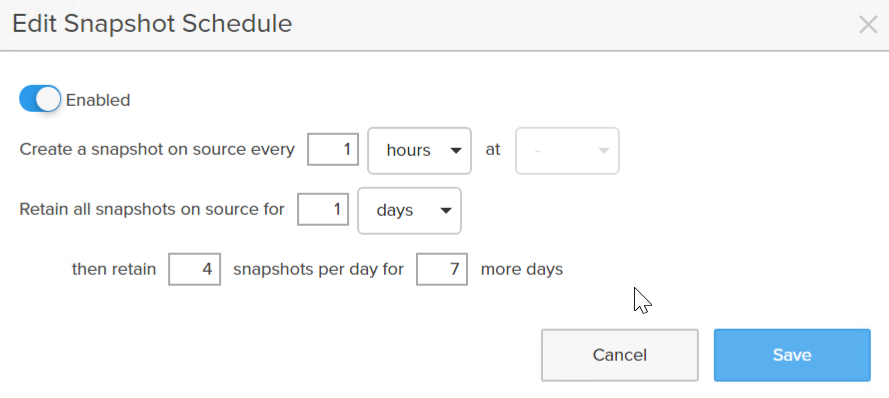
Enable a schedule:
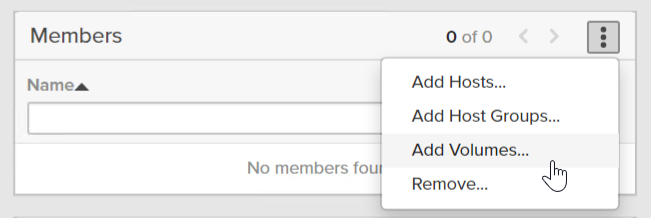
Add one or more volumes. I will add both.
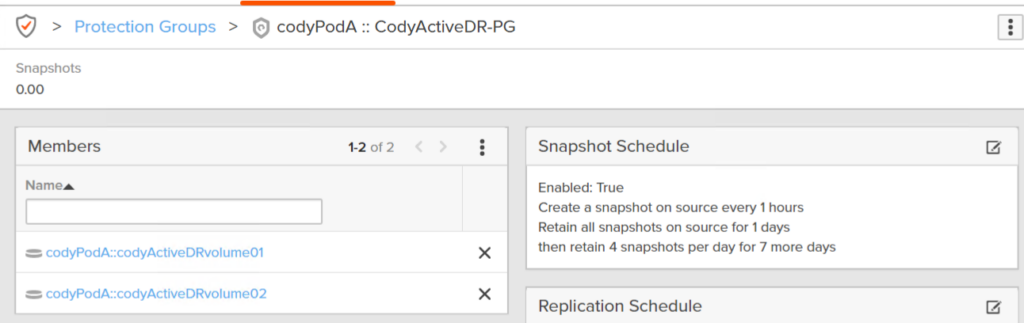
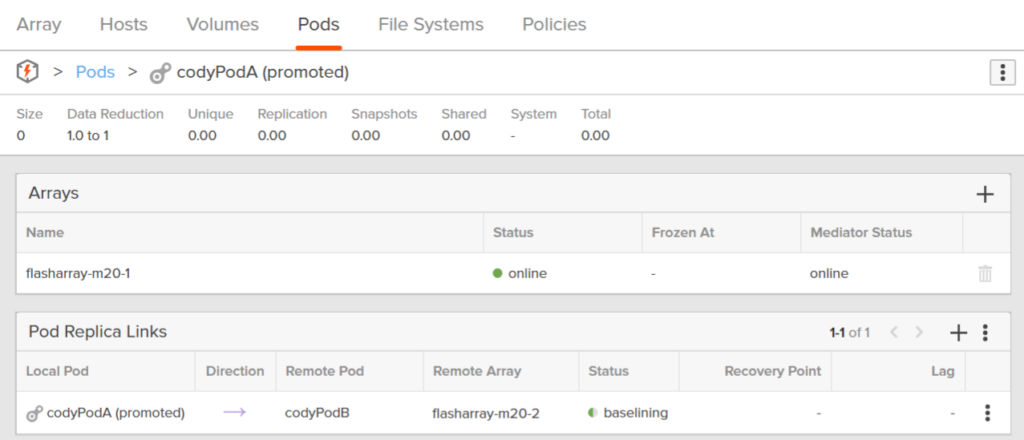
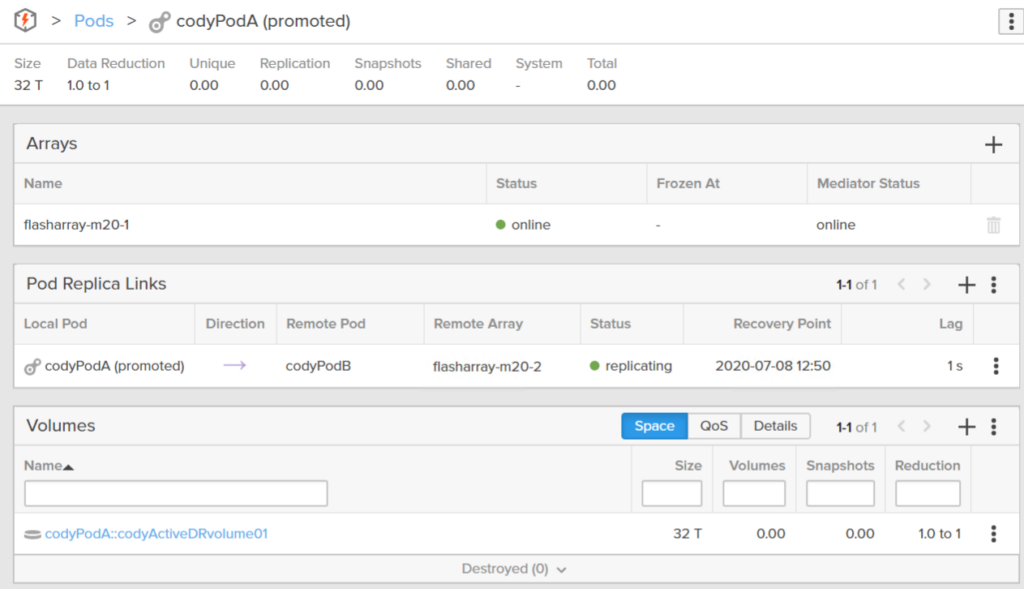
So now I have a pod called codyPodA replicating to codyPodB. codyPodA currently has two volumes, both in a protection group that snapshots them every hour.
Pod States
There are two main states for pods: promoted and demoted. Promoted means that the pod and its contents are usable. The volumes can be written to. The volumes can be reconfigured (resized, tagged, snapshotted, etc.). Demoted means that the volumes and objects are not usable. They can be viewed– you can see the snapshots there, the volumes, their configurations, but you can not do anything with them. To do something, you need to promote the pod.
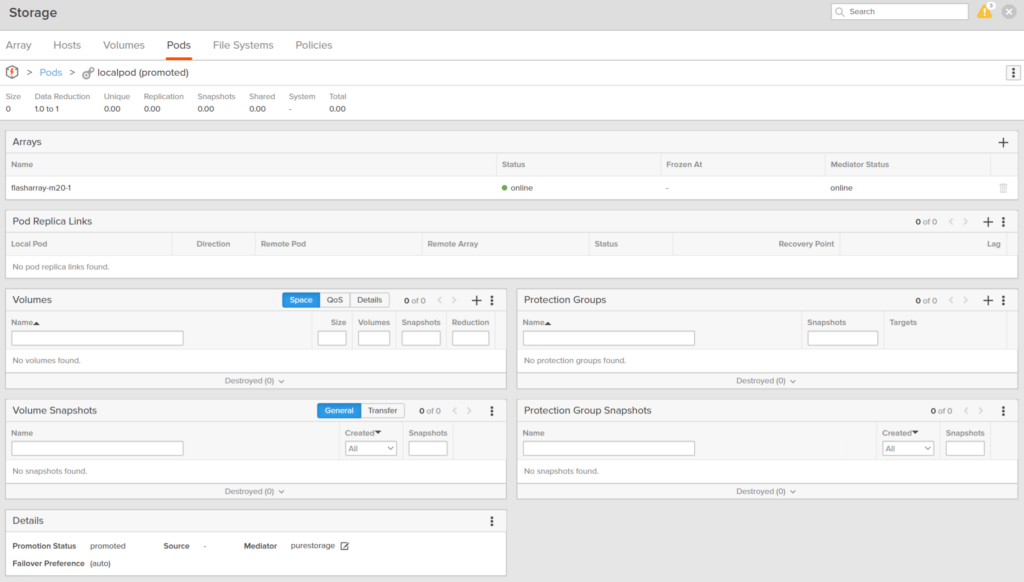
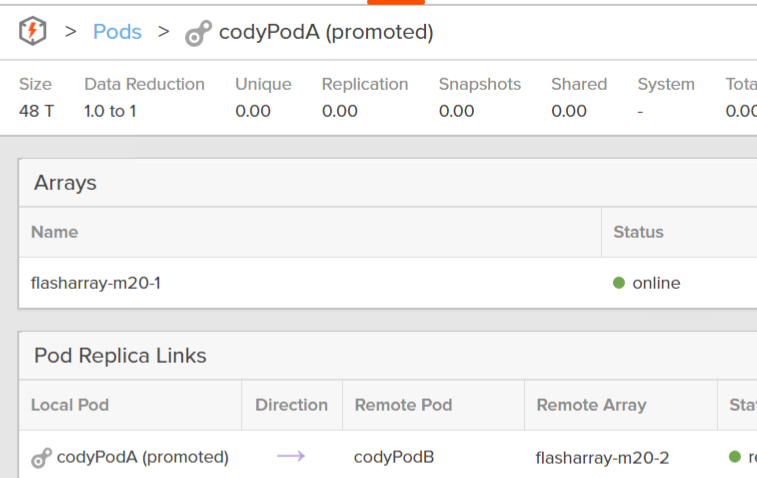
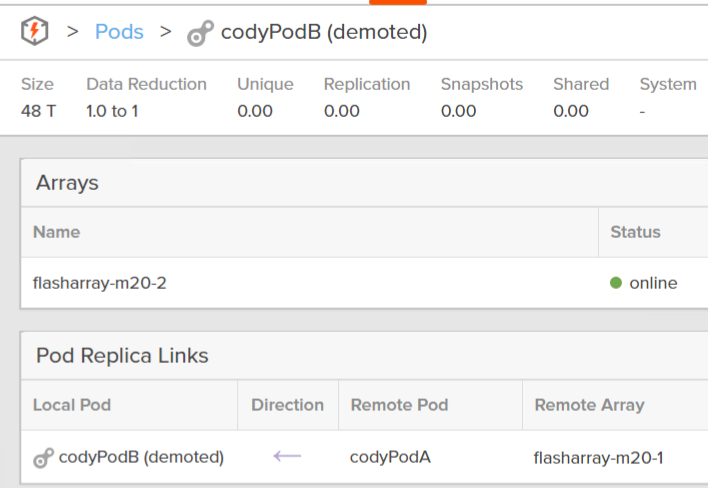
The start state of an ActiveDR setup is that the source pod is promoted (in-use by hosts), and the target pod is demoted (inactive):
Source pod:
Target pod:
Replica Link
Before we get into more of the behaviors, lets define some of the pieces of ActiveDR. You will see a box called Pod Replica Links:

- Local Pod: The local pod refers to the pod you are looking at. It does not necessarily mean the source pod. This is the pod local to the array you are logged into.
- Direction: This indicates which pod is the source, which is the target. The pod it points to is the target.
- Remote Pod: The pod on the opposing array from which you are currently logged into.
- Remote array: I think we all understand what this is.
- Status: What is going on with this pod. These states can be:
- baselining–initial replication has started. Basically catch-up mode.
- idle–the source pod has been demoted (more on that term later) but (by choice of the admin) any data difference between the source pod and target pod is thrown out–so the link is idle. Nothing to replicate.
- paused–the replication link has been administratively paused
- quiescing–the source pod has been demoted and any lingering data is being sent over to the target pod
- quiesced–the source pod has been demoted and all of the data has been completely replicated over
- replicating–the source pod is actively sending data to the target pod
- unhealthy–the target pod cannot be reached. This means the replication network is down, or the target array is offline.
- Recovery Point: if the target pod is brought online (promoted) this is the point-in-time that it will use. This is the latest copy of the source pod that has made it to the target.
- Lag: How far the target pod is behind the source pod. Current time – Recovery Point
Test Failover/Dev Test
ActiveDR was specifically designed to make a test recovery (or enabling the dev/test case in general) simple, non-disruptive, and repeatable.
- How do you run a test: Well just promote the target pod. This will take the latest recovery point available and refresh the target pod with it and make the objects in it usable.
- To end the test: just demote the pod. This will discard any of the changes.
- To refresh the test: demote it and promote it again.
The source pod continuous to protect and replicate to the target whether the target pod is promoted or demoted. The state of the target pod DOES NOT affect the protection of the source.
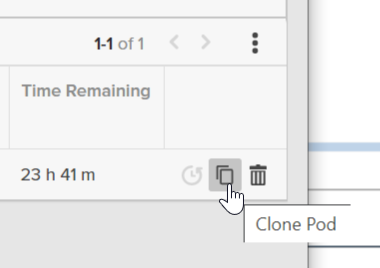
What if the demotion was a mistake and you want that data? Well when you demote a pod, we actually create a copy of the pod (called an undo pod) the moment you hit demote. So if that “test” turns out to be the data you need (or you want to go back to verify something) you can.

You can either create a whole new pod from that “undo” pod:
Or you have the option to promote the pod again, the difference being that since the array sees an undo pod exists, it gives you the option to choose the undo pod to promote from, instead of promoting from the latest recovery point as usual:
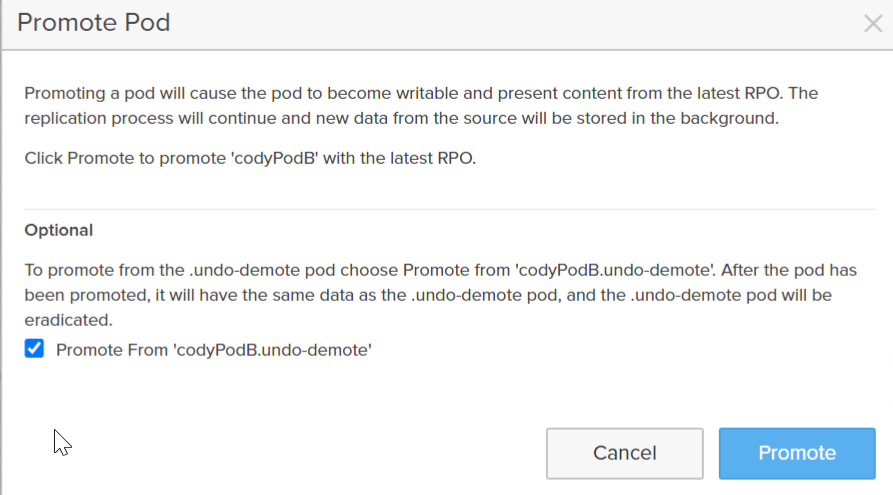
The undo pod will be automatically permanently deleted according to the array eradication timer. Defaults to 24 hours (as of 5.3.7 this can be set to a longer window).
The key thing to remember here: even when you promote the target pod–the replication continues in the background. The test process is entirely non-disruptive.
Failover
How about a failover? Well for a failover, you first demote the source pod, then you promote the target pod.
When you demote the source pod, you have two options:
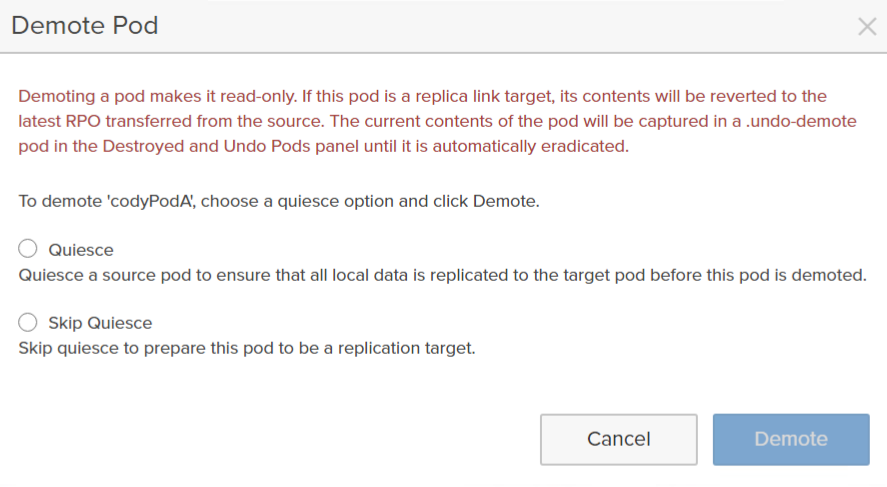
To quiesce or not to quiesce? Generally, choose the former. Quiesce means the FlashArray will make sure all the unreplicated changes are sent to the target array. Not quiescing means it will not replicate any changes and whatever the current state of the target pod is will be the latest point-in-time.
Why would you want to do that?
Well if there is a disaster recovery event and the source side is down (maybe a power loss). You only have the option to promote the target pod with the latest recovery point it has (the source is down). So you resume production on the target site. Then the next day the power is back on and the source side is back online. The last state of the source pod is promoted so it remains that way. So now you have both sides of the pod promoted. Which is the good point-in-time? Well the target side in this case. The pod which you have been running production on for ~24 hours. So demoting the original source side without quiesce is what you want–you don’t care about the former source side point-in-time any more.
Reprotect
So how do you reverse the direction of the replication? Well you don’t. Well, not directly anyways. We thought about this and realized we could infer the need to do this automatically. There was no need for this to be an option.
Let’s look at what we do when states are changed.
- Pod A is promoted, pod B is demoted. We will replicate from pod A to pod B.
- Pod A is promoted and pod B is demoted. Someone promotes pod B. We continue to replicate from pod A to the array hosting pod B in the background, though pod B is using the recovery point of when it was promoted. We know this is a test or some kind of dev/test workflow–because the source is still online. No need to change replication direction.
- Pod A is promoted. Pod B is promoted. Pod B is then demoted. Replication continues from pod A to B. This looks like the end of a test.
- Pod A is promoted. Pod B is demoted. Pod A then becomes demoted. Both are demoted, no change in replication direction (doesn’t matter if quiesced or not).
- Pod A is demoted. Pod B is demoted. Pod B becomes promoted. We then reverse direction of replication so it flows from B to A. We know that A is no longer in use and B is. So B is where the data changes are and it should be protected.
Just like the demote undo pod, we have a “relink” pod. When the replication is reversed, we take a snapshot of the entire pod before we start replicating back to it.

So if you decide you want that data point, you can re-promote the pod from the relink, or you can copy it to a new pod.
Replication
So the biggest question is what is ActiveDR doing? Well ActiveDR sends every write to the remote side as quickly as it can. There are no latency requirements between the arrays, nor specific throughput requirements. ActiveDR maintains compression on the wire (the target dedupes the data as it comes in like any write to a FlashArray), so the throughput requirement will be the compressed writes coming into that pod–which is less than what is actually being written to the pod (unless the workload is somehow in-compressible)–so to keep up with your workload you likely don’t have to have the same replication bandwidth available.
If the lag gets to more than 30 seconds for 5 minutes, we will alert. So the read-between-the-lines there is that we expect the lag to be normally less than 30 seconds. Especially for extended periods. If somehow things gets so bad that the lag gets to 20 minutes (meaning the target is 20 minutes behind the source pod) we will transparently switch to snapshot-based replication to catchup.
That sounds weird? Didn’t we move from snapshot based replication to REDUCE the RPO? Shouldn’t it make the lag worse? It does seem counter-intuitive. Well overall, snapshot replication is more efficient–we maintain dedupe and compression and therefore we have to send less overall. But there is some overhead, we do have to do work to create those snapshots. So it would be very difficult to get to that mechanism to consistent near-zero lag–which is the expectation of ActiveDR. So it is good to get large amounts of data quickly, but not continuous, frequent changes.
The lag doesn’t just describe the point-in-time of the writes going to volumes (a.k.a. the dataset on the active volumes). But also the pod itself. If the lag is let’s say 1 second, any object or configuration change in the past 1 second will not have made it to the remote pod yet. So a volume for instance you created .5 seconds ago will not be protected yet to the remote pod. So if the source array fails .2 seconds after a volume was created, that volume will not appear when you promote the pod on the remote array.
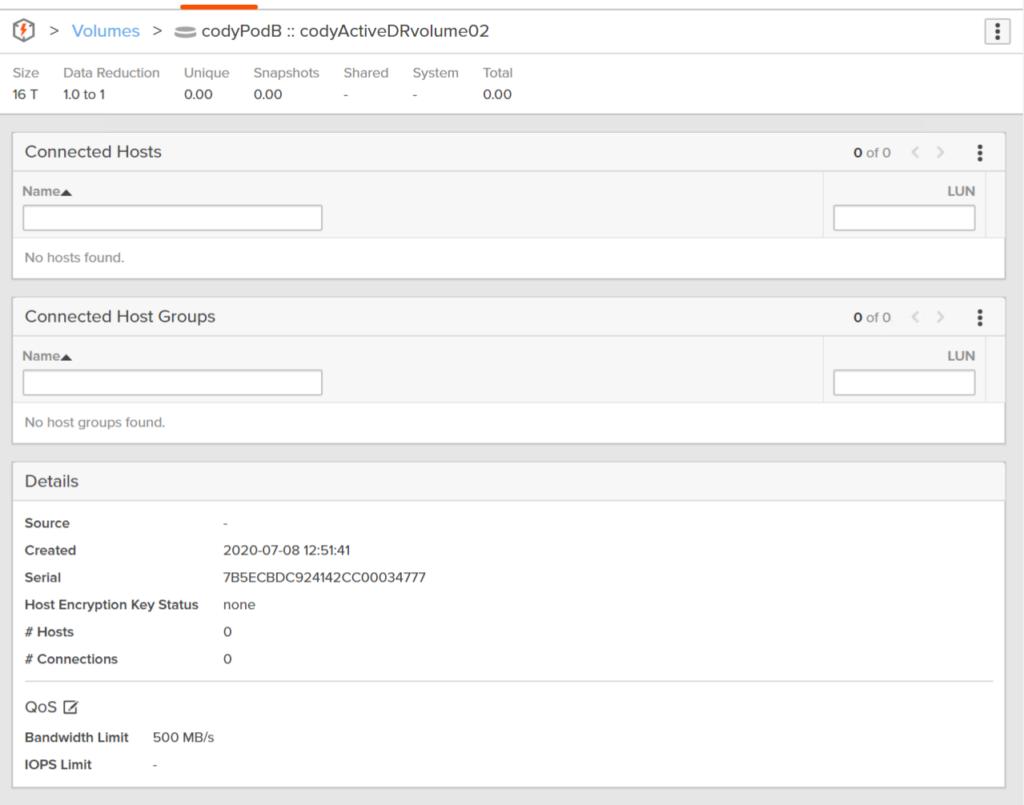
If I look from the target array at the volume that I configured a QoS limit on, you will see that target volume also has that configured QoS:
If I change it from 500 MB/s to 1,000:
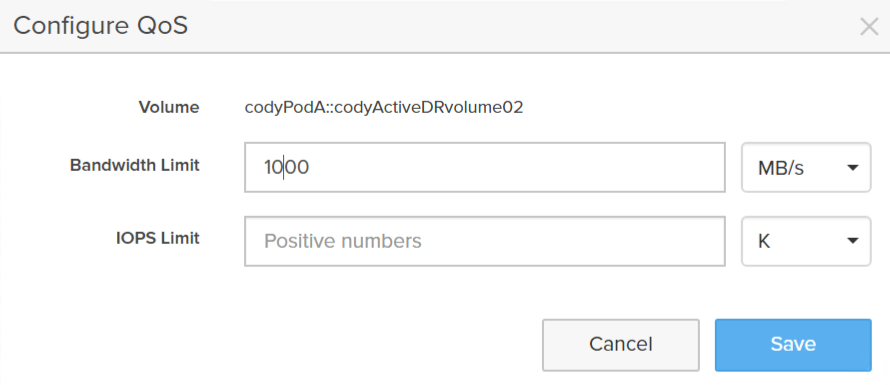
You will see that configuration change appear on the target volume too:
Do new volumes or changes appear in the demoted target pod immediately? No. While they are protected and on the target pod if they are created before the latest recovery point, they do not necessarily show up in the demoted target pod immediately. We refresh how the target pod “looks” about every 15 minutes. If you want to “refresh” how it looks, you can. Promote it. Then demote it. The thing to remember though, is that when you promote it, you will always get the latest recovery point (unless you promote it from some undo or relink pod)–so you don’t have to do this over and over.
VMware
I still have VMware in my title so let me talk about that. We are updating our SRA to support ActiveDR–that work is mostly done. Final stages of testing and will move on to certification soon. See the video at the top of this post.
vVol support is in the design phase right now–ActiveDR maps VERY well to the vVol replication API so I am looking forward to that. The work to do that overlaps well with the work we are doing for ActiveCluster support too. Both of those technologies are still roadmap items for vVols at this time. Stay tuned for more specific updates on that in the future.
Thank You, very insightful. can this be automated, what would it entail to do it in an automated fashion. How does host failover or application shut down initiate the failover if automated? Thank You again
You’re welcome! So the best option is VMware’s Site Recovery Manager https://www.codyhosterman.com/2020/09/sra-4-0-released-activedr-support/ if you are using VMware of course. If you are using a different platform, we can give more specific advice on that.
The VMware option using SRM will definitely be in the near future as it is currently using a different storage device, and thank you again for making it clear. For the current environment, the platform is Linux ( not sure if RH or Other, will confirm with the OS team) . Then we have another Pure environment using Windows within a DMZ, this will be done when the Linux environment can be automated. Any insight will help take us forward. Appreciate your feedback!