
UPDATE: This is a older post, but after working with vRO for longer and learning a lot more about it I decided I needed to re-write this post. Too much of it was not the best way to do things.
One of the projects that I have recently taken up is figuring out how to leverage vRealize Orchestrator to manage and execute operations on the FlashArray. Managing the FlashArray is rather easy of course, most of the work revolved around getting vRO up and running (note in vRO 7.0 all of this is much easier) and learning the product itself and brushing up on my Javascript. I think vRO is a pretty great tool, just takes some time to figure out as not everything in it is quite intuitive, but it seems well ahead of what is was when I last used it a few years back. Once you get the feel of how to leverage it though, you can see how powerful it could be. I’ve just scratched the surface of it and am already excited on what I can put together.

Pre-requisites
None really. The FlashArray comes with the REST API built-in so there is nothing you need to deploy. REST API version or Purity version doesn’t really matter either. I used the latest though in case you are interested (Purity 4.5.8 and REST 1.4), I recommend vRO 7.0 big time over earlier releases.
Essentially this should all work with any version of vRO that includes the REST plugin, which has been around for a few years I believe.
Background
This blog post is going to just be about connecting to the FlashArray to authorize a REST session. What are the steps involved at a high level for any REST connection to be authorized? The FlashArray uses a token based credential system for REST connections so it is a bit more than just supplying a username and password:
- Send username and password to REST service
- REST service responds with a corresponding API token for that specific user
- Client sends token back to request a session. This session last for a specific period of time depending on the cookie expiration setting.
A little more color on the sessions–it is only valid for the currently logged in user of vRO (if someone else logs in when you create the session they cannot use it far as I can tell). If you log out or reboot the box the session cookie will immediately expire. Pretty standard behavior (think web site cookie authentication). From what I can tell from vRO this is 30 minutes (according to the set-cookie session expiration).
vRO REST Plugin
vRO offers a REST Plugin by default that allows you to make REST calls to, well, anything that offers a REST service.
There are a bunch of example workflows that can help you make REST calls without much effort already there.
Add a FlashArray Host
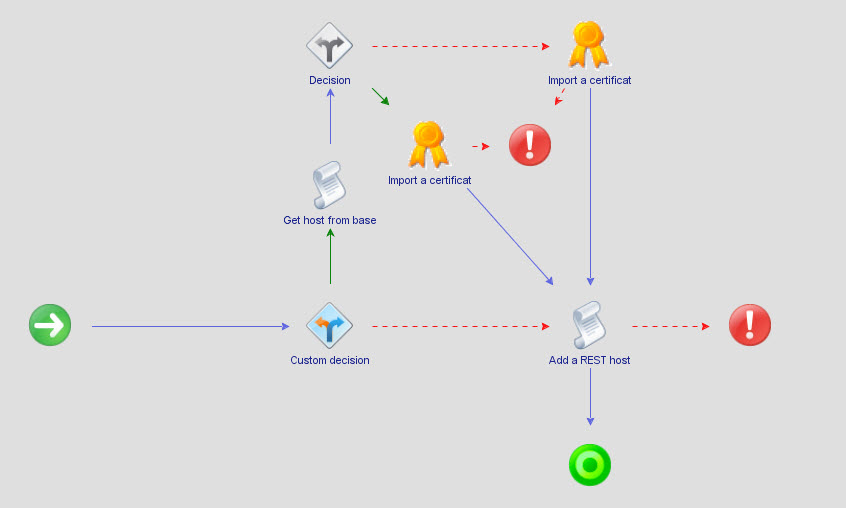
First step is to add the FlashArray REST service as a new “host”. This workflow basically just does two things:
- Saves the base URL of the FlashArray into vRO so it can be used in later REST calls
- Accepts the SSL certificate to allows REST calls to be made
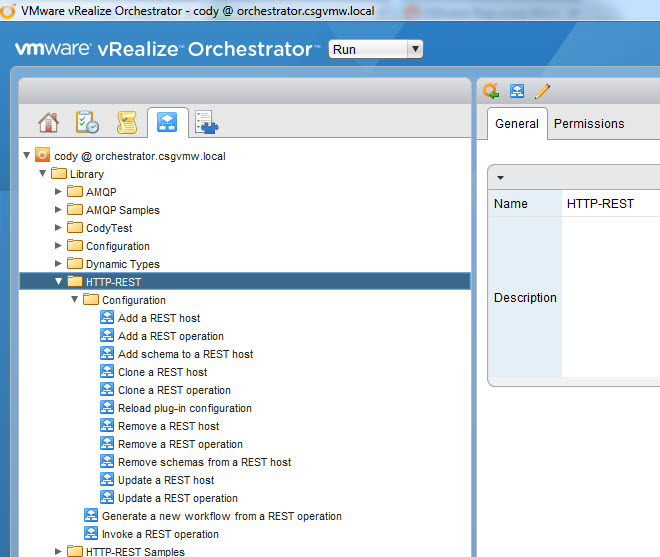
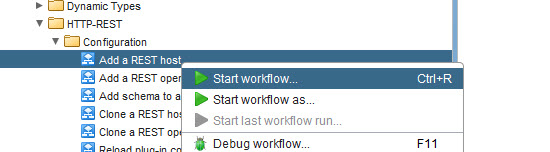
So launch the “Add a REST host” workflow.
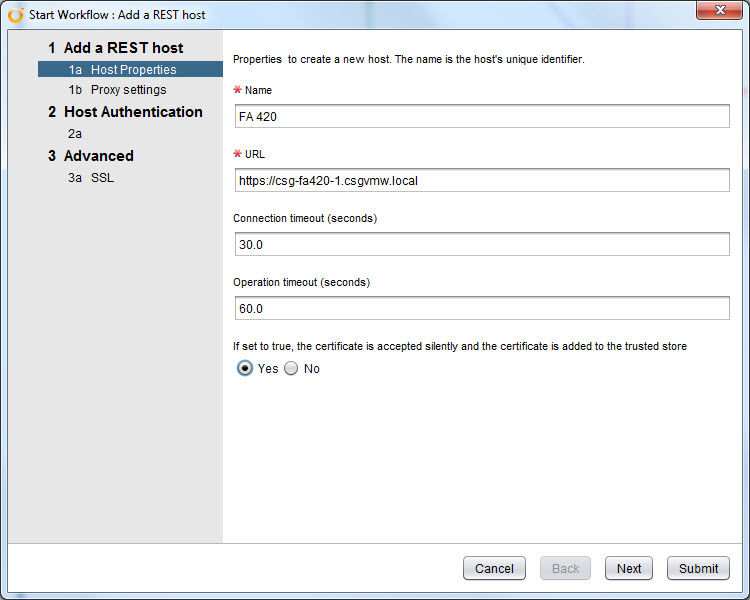
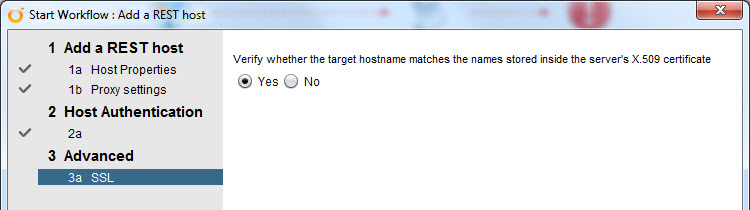
The first step is to add a friendly name to the FlashArray and the URL to the array using “https://”. You can use the IP after that or, preferably, the FQDN. I also changed the default setting from “no” to “yes” to allow vRO to accept the certificate silently, so it doesn’t prompt me to do so. Do whatever you want. Left the timeouts at the defaults.
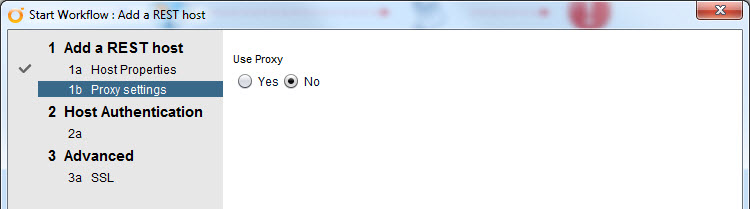
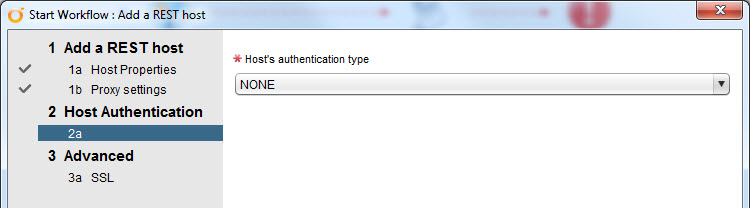
The rest of the wizard can be left at the defaults too. Authentication should be set to NONE as we are just accepting the cert and storing the array info. Not really connecting to the array to do anything just yet.
Finish the wizard and it will accept the cert and store the URL of the array.
This will usually only fail for one of two reasons:
- Wrong URL/DNS/network problem
- Your cert is not valid.
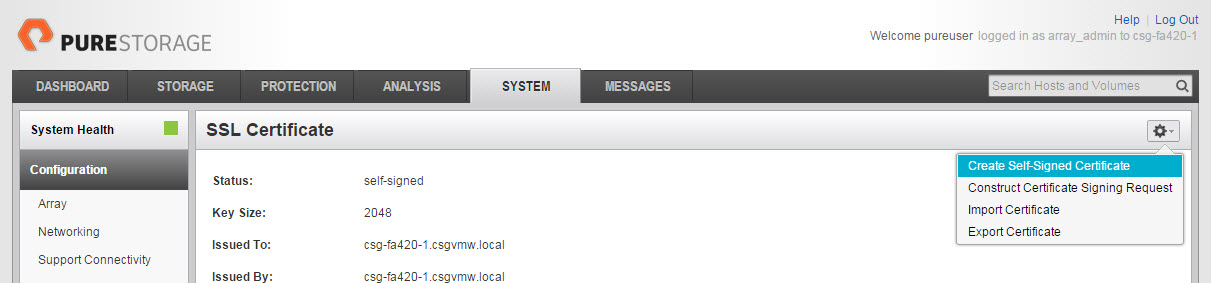
If you selected the default “Yes” for checking the target host name it will examine the cert much more closely. If it is self-signed it may not have the CN configured, if this is the case, login to the FlashArray GUI and check:
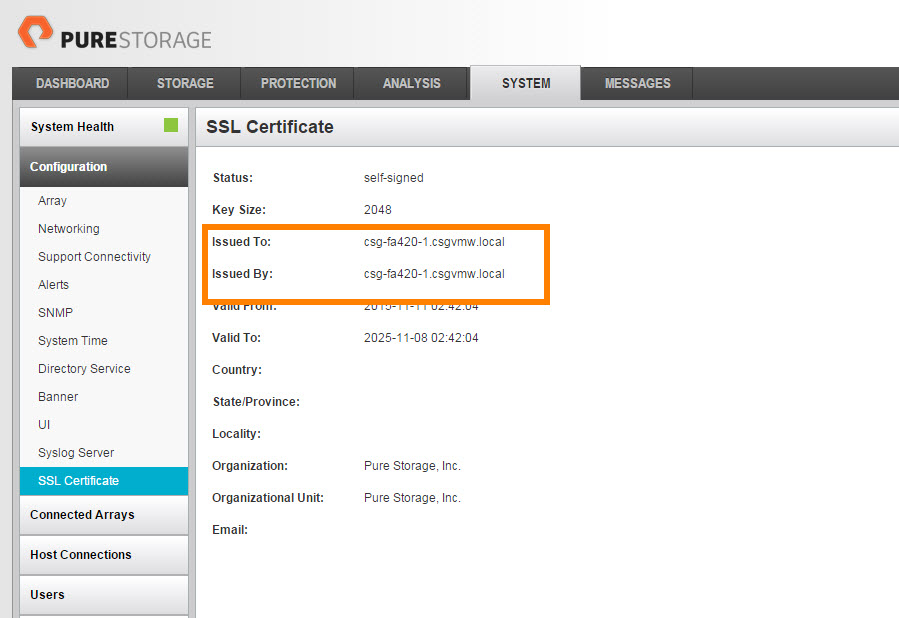
The issued to: line should have the proper FQDN in it. If it doesn’t, re-create the cert (note anything that connects to the FlashArray will need to re-accept the cert if you do this, including your GUI session).
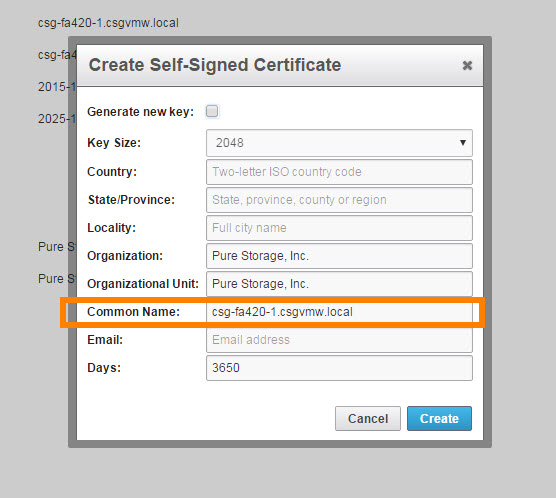
Make sure you enter the name properly in the “Common Name” box. Or get a cert from a CA.
Obtain FlashArray API Token and Session
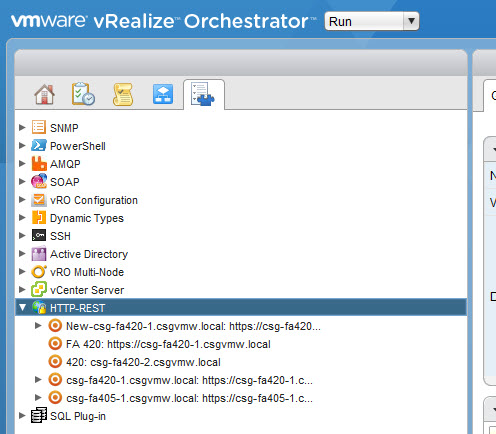
Okay the FlashArray now exists as a host object in vRO–you can view this object by going to the vRO inventory and drill down to HTTP REST.
Now we need to obtain the API token. You have two options here:
- Have vRO send your credentials to the FlashArray and have it return the token
- Just get the token manually from the array and enter it directly in vRO in order to create a session.
From a config perspective the 2nd is easier–there is less work you have to do in vRO. From an automation perspective the first is definitely more ideal. I will walk through the 1st option though, in order to be more complete.
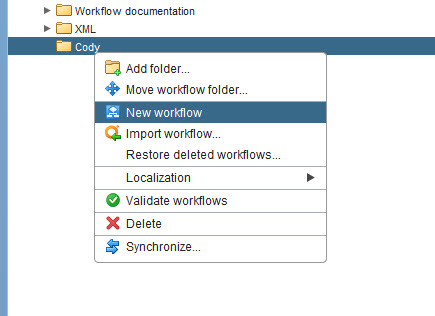
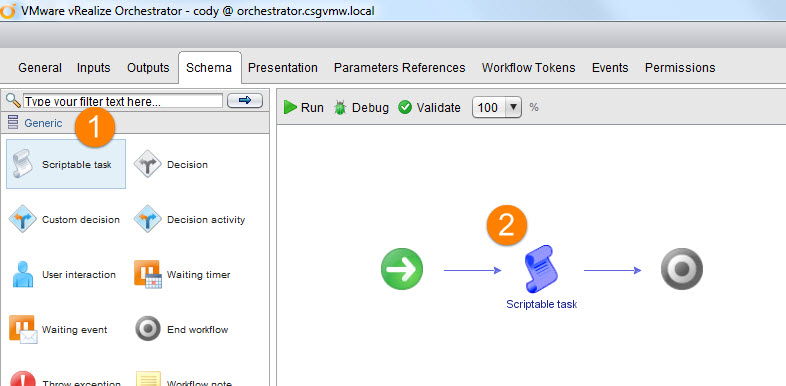
So create a new workflow and add a “Scriptable Task” object to the schema. Edit the script in the scripting tab.
Now you want to add some input variables. I have three inputs and one output.
- Input Variable 1:
- Name: restHost
- Type: REST:RESTHost
- Input Variable 2:
- Name: username
- Type: string
- Input Variable 3:
- Name: password
- Type secureString
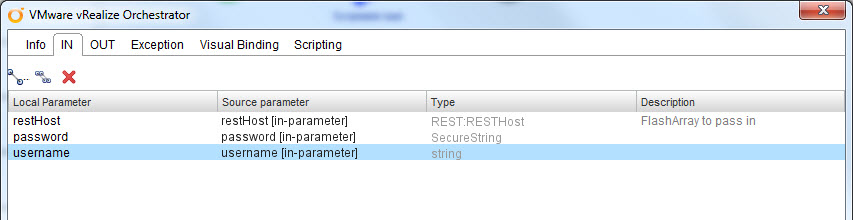
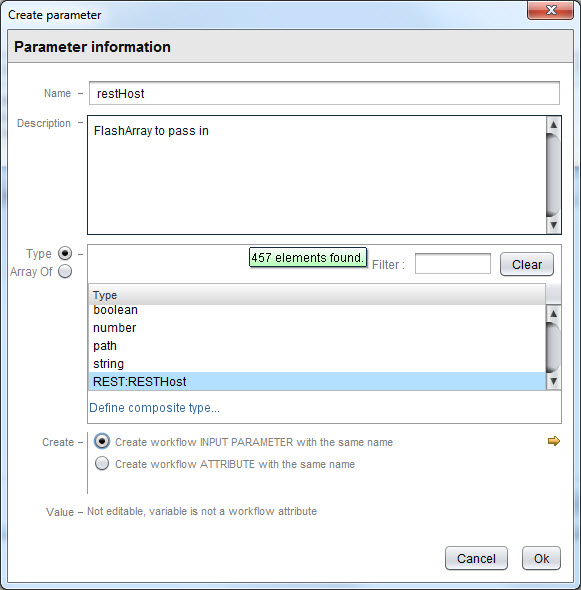
Click the little line with two balls on either end to create the variables.
So I input the rest host I added earlier and the username and password for it.
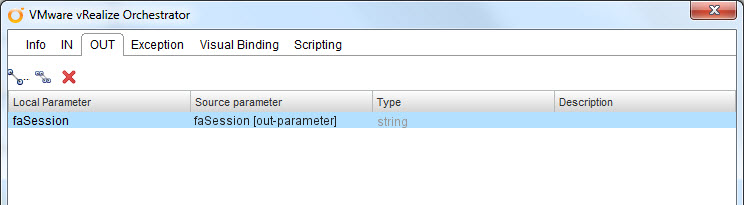
My only output will be the REST session ID:
- Input Variable 1:
- Name: faSession
- Type: string
The next part is making the REST call using Javascript in the Scripting tab. Paste the JS below:
var operationUrl = “/api/1.4/auth/apitoken”;
var requestType = “POST”;
var requestContent = (‘{“username”:”‘ + username + ‘”,”password”:”‘ + password + ‘”}’);
var requestContentType = “application/json”;
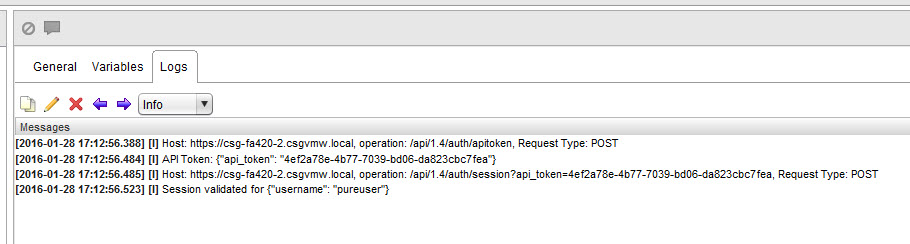
System.log(“Host: ” + restHost.url + “, operation: ” + operationUrl + “, Request Type: ” + requestType);
var request = restHost.createRequest(requestType, operationUrl, requestContent);
request.contentType = requestContentType;
var response = request.execute();
contentAsString = response.contentAsString;
apiToken = contentAsString.substring(15);
apiToken = apiToken.slice(0,-2);
System.log(“API Token: ” + contentAsString);
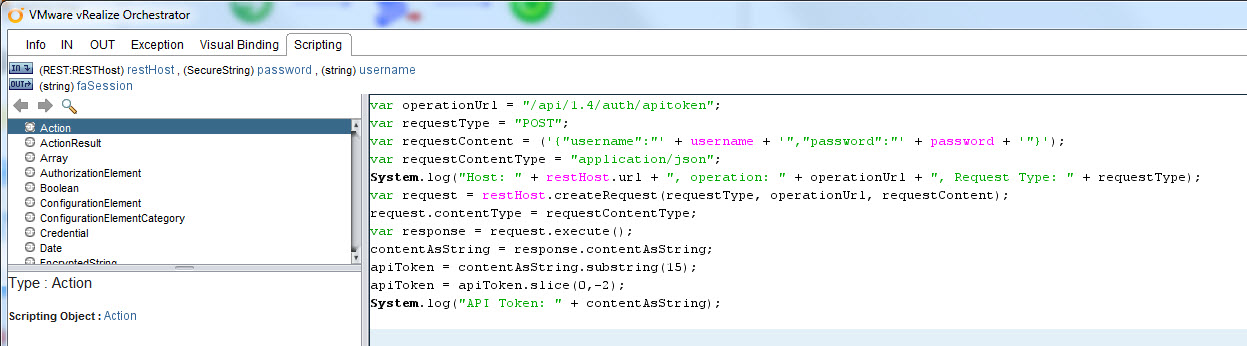
This makes the REST call with the content in JSON format (the username and password). It builds the content and makes the call. I log out the details and then finally the API token that gets returned by the call.

So this only gets us the token, but not the session, we need one more REST call. So we can make another workflow, or we could make this do it all. I am choosing the latter.
Very similar Javascript as before, with one change. It has no content, the REST call is entirely in the URL. No no JSON formatting needed. Note that I had to parse the API token a bit so I only have the token, not the rest of the JSON response I got earlier.
operationUrl = (“/api/1.4/auth/session?api_token=” + apiToken);
requestType = “POST”;
requestContent = “”;
requestContentType = “text/plain”;
System.log(“Host: ” + restHost.url + “, operation: ” + operationUrl + “, Request Type: ” + requestType);
request = restHost.createRequest(requestType, operationUrl, requestContent);
request.contentType = requestContentType;
response = request.execute();
System.log(“Session validated for ” + response.contentAsString);

You can see the added lines after the blank line above.
This will create the session–you know success occurred when it returns your username in JSON format.
If you want to use that session though it isn’t as simple as just clicking on a workflow and it will work. Unlike, let’s say, PowerShell, when you connect the connection isn’t good for all subsequent commands (well until it expires). You have two choice:
- Run this in a parent workflow with whatever other REST calls you need to make. If a subsequent call is in the same parents workflow the session ID/cookie will be passed automatically and it will work.
- If you want to run separate workflows, you need to get the session ID from the REST response of the session creation call and then somehow pass that to another workflow (either through some kind of global properties that can survive a finished workflow, or through copy/paste).
Regardless you need to find the session ID information. This is stored in the header response of the REST API response when you run the second POST operation. There are a bunch of headers, so I just sort through them until I find a match for a header with the term “session” and store that. I return it to that output variable we created earlier. So if you ever need to use that just either manually enter it in or pass it in the request.setHeader operation. The header name would be “Cookie” since it is technically a cookie.
Note I store the response in an object and parse it automatically with JSON.parse.
var result = JSON.parse(response.contentAsString);
var statusCode = response.statusCode;
var statusCodeAttribute = statusCode;
System.log(“Status code: ” + statusCode);
var contentLength = response.contentLength;
var headers = response.getAllHeaders();
contentAsString = response.contentAsString;
for each (var header in headers){
if (header.indexOf(“session”) !== -1)
{
System.log(“Session ID is ” + header.toString());
faSession = header.toString();
}
}