
I wrote awhile back on how to deploy TKG on top of vSphere, but there have been some improvements, some changes, and I have personally learned more so I thought it was time to write a new one.
The process requires a few things, but first the deployment of the management cluster–and there are a few options for this. A burgeoning option is the more integrated version to vSphere, which is called Tanzu Kubernetes Grid Service. This means the supervisor cluster is tightly integrated into vSphere. This comes in two forms vSphere with Tanzu or VMware Cloud Foundation (VCF) with Tanzu. The latter is the most feature rich but of course requires VCF and NSX. The former doesn’t quite have all of the options, but does not require those two, instead just vSphere and virtual distributed switches.
The third option is to deploy the management cluster directly. This has the least requirements, but has the least direct integration into vSphere. This is what I will focus on today. I will follow up with the other options. This choice is generally just called Tanzu Kubernetes Grid.
- Tanzu Kubernetes 1.2 Part 1: Deploying a Tanzu Kubernetes Management Cluster
- Tanzu Kubernetes 1.2 Part 2: Deploying a Tanzu Kubernetes Guest Cluster
- Tanzu Kubernetes 1.2 Part 3: Authenticating Tanzu Kubernetes Guest Clusters with Kubectl
Section 1: Prep Bootstrap Machine
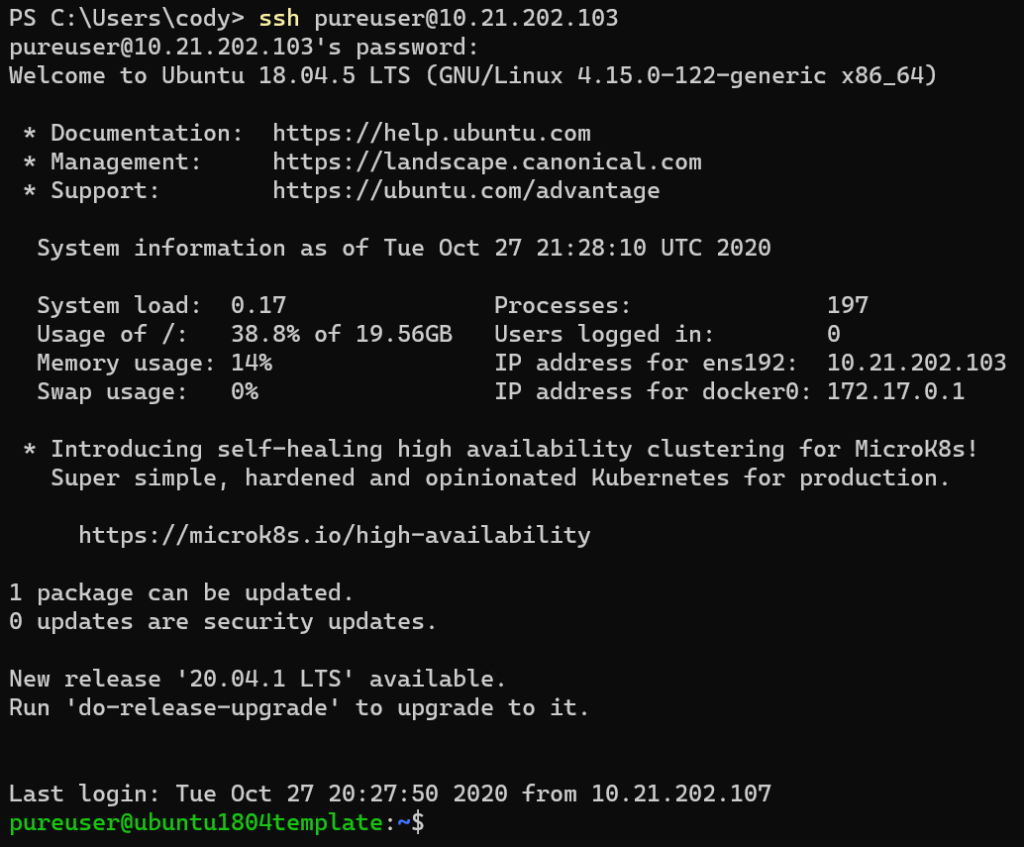
The first step is to prepare a bootstrap machine. There are many options for this, but I will be using a pretty standard Ubuntu 18.04 VM.
Step 1.1: Download CLIs:
I have Docker pre-installed and that is about it. The first step is to download and install the two required CLIs:
https://my.vmware.com/en/web/vmware/downloads/details?downloadGroup=TKG-120&productId=988&rPId=53095
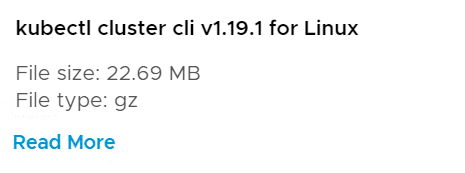
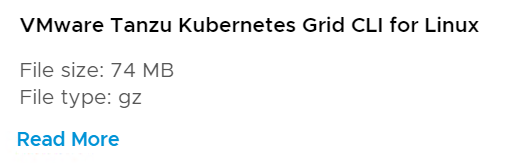
Download two things:
- VMware Tanzu Kubernetes Grid CLI
- kubectl cluster CLI
I am using Ubuntu so I will download the Linux versions:
Downloaded:
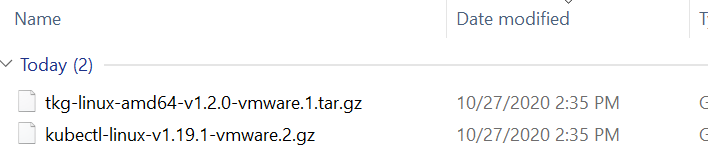
Now I downloaded from VMware via a Windows machine, so I need to transfer to my Ubuntu server via SCP:

Great:

Step 1.2: Install TKG CLI
So let’s unpack and install:
sudo tar -zxvf tkg-linux-amd64-v1.2.0-vmware.1.tar.gz

This creates a tkg directory.

From your home directory (or if you changed into the tkg directory you can shorten the source link) move the tkg-linux-amd64-v1.2.0+vmware.1 file to /usr/local/bin/tkg
sudo mv ./tkg/tkg-linux-amd64-v1.2.0+vmware.1 /usr/local/bin/tkg

The finally make it executable:
sudo chmod +x /usr/local/bin/tkg

Step 1.2: Install kubectl
Repeat for kubectl:
sudo gunzip kubectl-linux-v1.19.1-vmware.2.gz
sudo mv ./kubectl-linux-v1.19.1-vmware.2 /usr/local/bin/kubectl
sudo chmod +x /usr/local/bin/kubectl

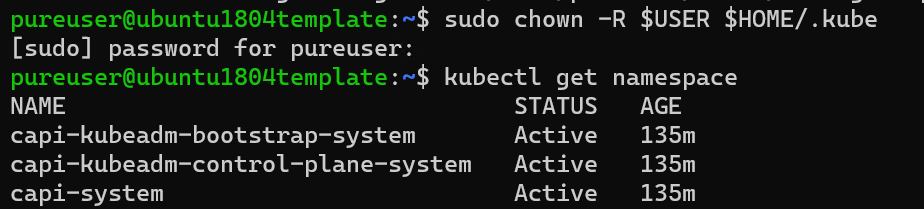
By the way, if you want to not have to use sudo for every kubectl command, you can set the kubectl files to be owned by the logged in user:
sudo chown -R $USER $HOME/.kube
Step 1.3. Create SSH Key
The next step is to create a SSH key for configuration access to the nodes. First I create a directory called /home/pureuser/.ssh/. Replace pureuser with your user account
mkdir /home/pureuser/.ssh/

Then run the following but replace this email with your own:
sudo ssh-keygen -t rsa -b 4096 -C “[email protected]”
It will ask for a directory, I did not use the default and used the one I created above and also provided a password:

Next, we need to add the key to the ssh agent. The default instructions never work for me, so I did the following. Run:
sudo ssh-agent /bin/sh
Then in the prompt enter:
ssh-add /home/pureuser/.ssh/id_rsa
Then enter your password. When complete type exit to return to bash.

Section 2: Configure vSphere
Ideally you would lock the credentials down, but for now I will be using an administrative vSphere account. See the following for requirements to further lock down:
So all I really have to do is:
- Create/identify a VM folder
- Create/identify a Resource Pool
- Create/identify a datastore
- Create/identify a port group
- Download the TKG OVA
- Upload it to vCenter and mark it as a template
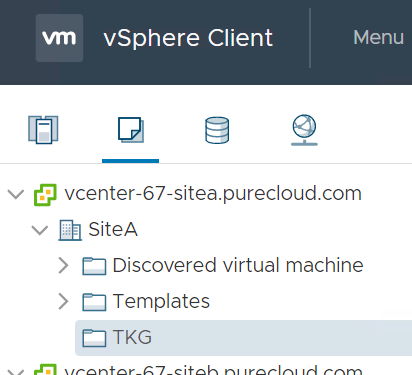
Step 2.1: Create/identify a VM folder
In my datacenter “SiteA” I created a VM folder called TKG:
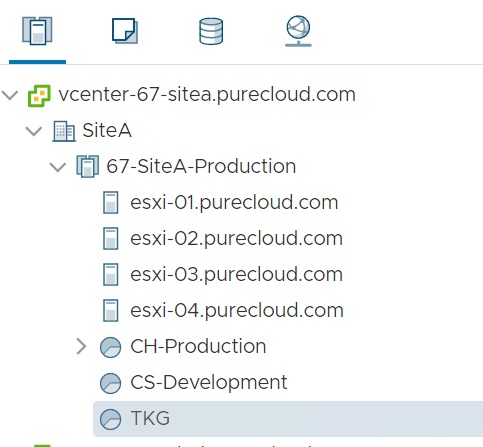
Step 2.2: Create/identify a resource pool
In the same datacenter (“SiteA”) I also have a resource pool called TKG:
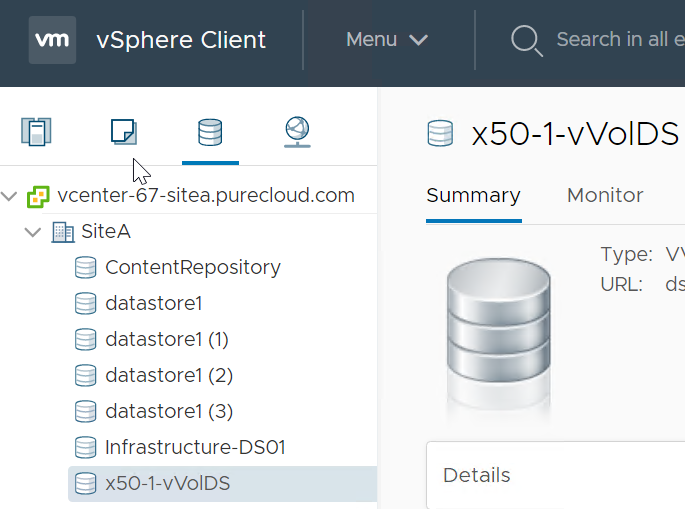
Step 2.3: Create/identify a datastore
Then of course a datastore in that same datacenter:
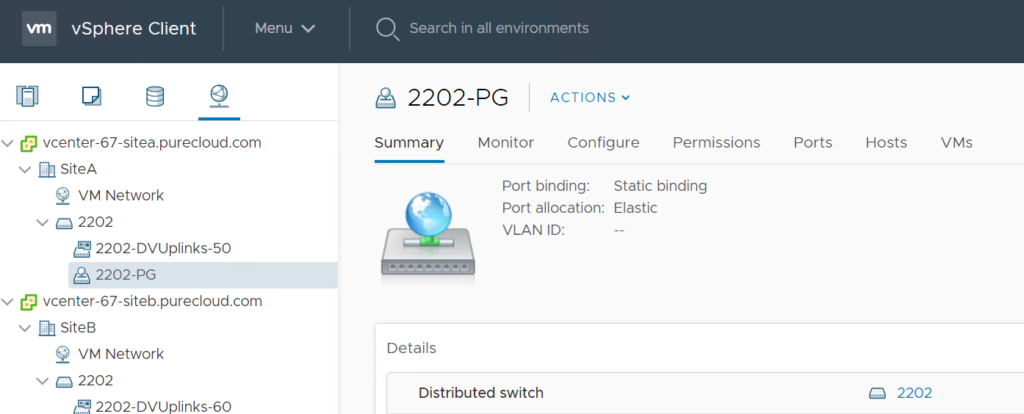
Step 2.4: Create/Identify a network port group
Find a port group to use as well in that cluster/datacenter. Can be a standard switch or a distributed, but recommend distributed so you can ensure consistency across hosts in the cluster.
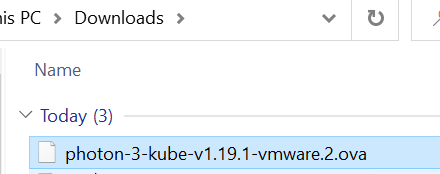
Step 2.5: Download the OVA
Next download the single OVA (only one is needed these days). I will download the latest, which has v 1.19 of Kubernetes.
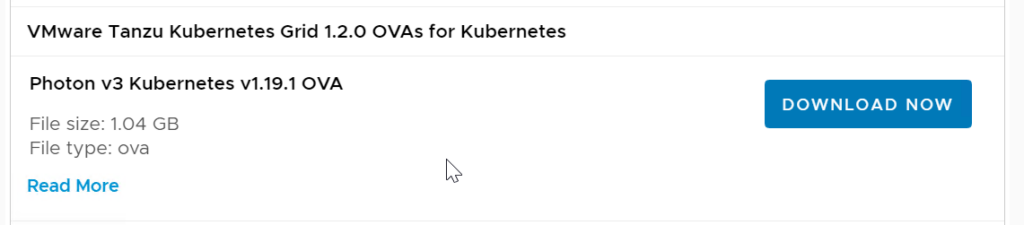
Done:
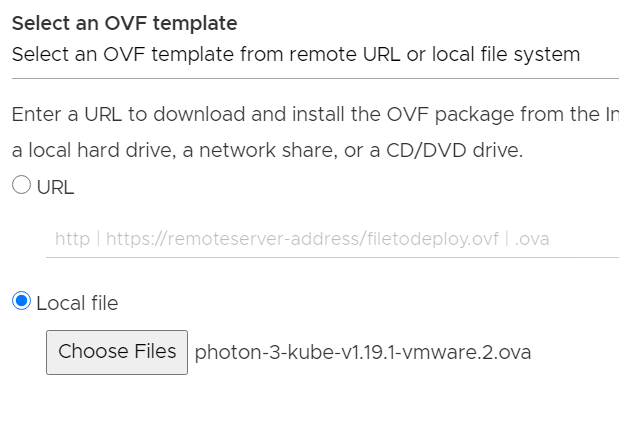
Step 2.6: Deploy the OVA and mark it as a template
Now deploy the OVA to vCenter:

It does not have to be on any of the resources from earlier (folder, resource pool, datastore) but it does need to be available by that target host cluster.
Complete the wizard and let it complete.

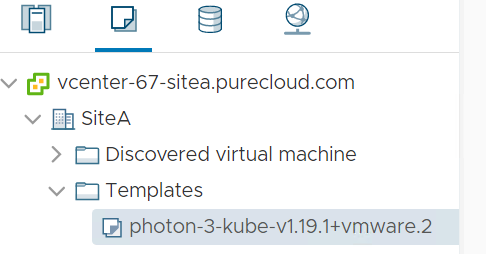
Now mark it as a template:
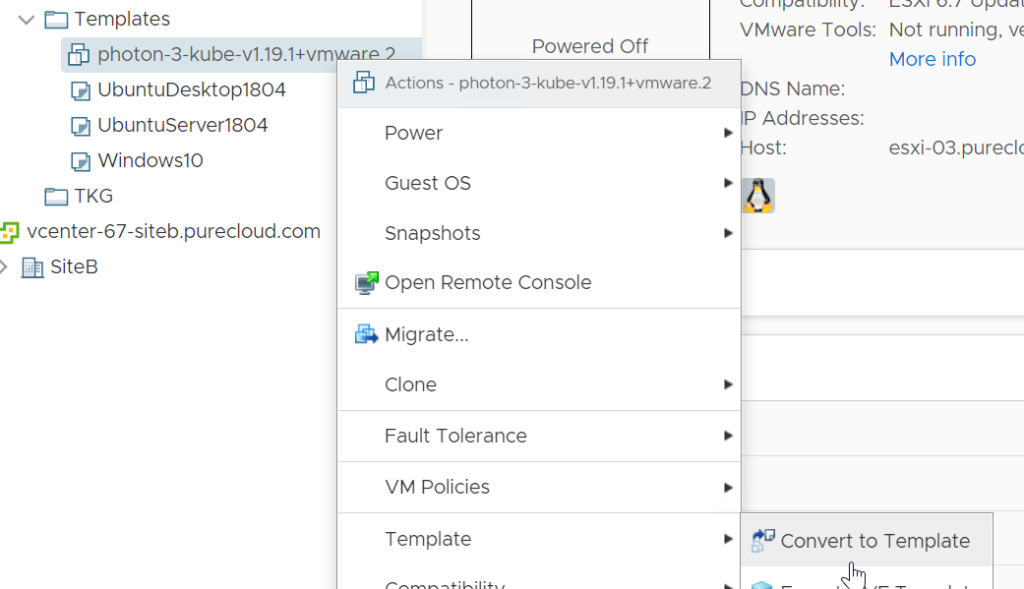
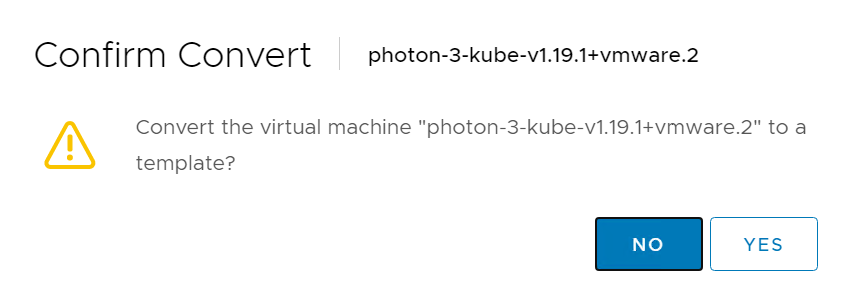
And done:
Section 3: Prepare to Deploy Management Cluster
Now back in the bootstrap machine we need to prepare to deploy the management cluster. This is documented officially here:
This includes a few things:
- Get your public key
- Create YAML file
- Edit the YAML
- Deploy management cluster
Step 3.1: Get your public key:
First you need to grab your public key from the SSH key you created earlier. Do a more on the key and copy the whole thing, ssh-rsa included. Replace the directory path as needed.
more .ssh/id_rsa.pub

Step 3.2: Create YAML file
You do not need to (nor should you) create the YAML file from scratch. To generate it, run the following command once:
tkg get management-cluster

This will create a few directories and files, included the needed YAML file.
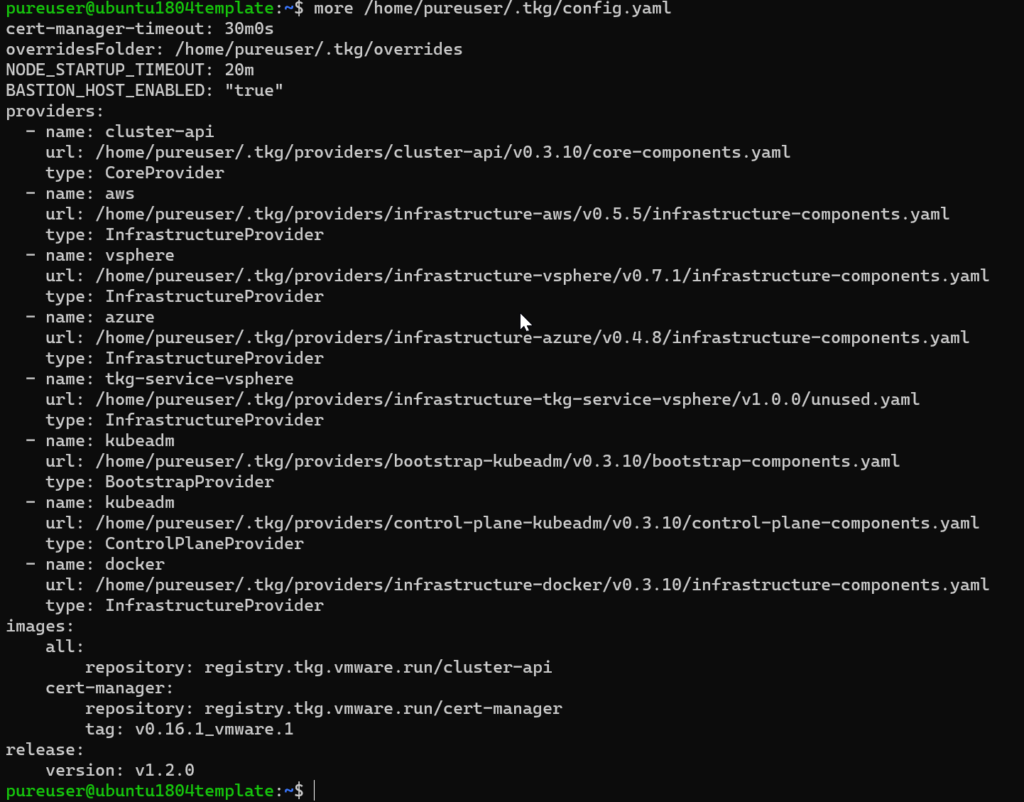
Step 3.3: Edit the YAML
Now we need to add some info to the YAML file. Use vi or your favorite editing tool. For more information on the fields, go to:
sudo vi /home/pureuser/.tkg/config.yaml
Go to the end of the file and add the following:
VSPHERE_SERVER: vcenter-67-sitea.purecloud.com
VSPHERE_USERNAME: [email protected]
VSPHERE_PASSWORD: mypassword
VSPHERE_DATACENTER: /SiteA
VSPHERE_DATASTORE: /SiteA/datastore/x50-1-vVolDS

VSPHERE_NETWORK: 2202-PG
VSPHERE_RESOURCE_POOL: /SiteA/host/67-SiteA-Production/Resources/TKG
VSPHERE_FOLDER: /SiteA/vm/TKG
VSPHERE_SSH_AUTHORIZED_KEY: ssh-rsa AAAAB3NzaC1yc2EAAAADAQABAAA <...> tFXt6/s875qrdb1eE8vIV7K+VuXw== [email protected]
SERVICE_CIDR: 100.64.0.0/13
CLUSTER_CIDR: 100.96.0.0/11
VSPHERE_WORKER_DISK_GIB: "40"
VSPHERE_WORKER_NUM_CPUS: "2"
VSPHERE_WORKER_MEM_MIB: "16384"
VSPHERE_CONTROL_PLANE_DISK_GIB: "20"
VSPHERE_CONTROL_PLANE_NUM_CPUS: "2"
VSPHERE_CONTROL_PLANE_MEM_MIB: "2048"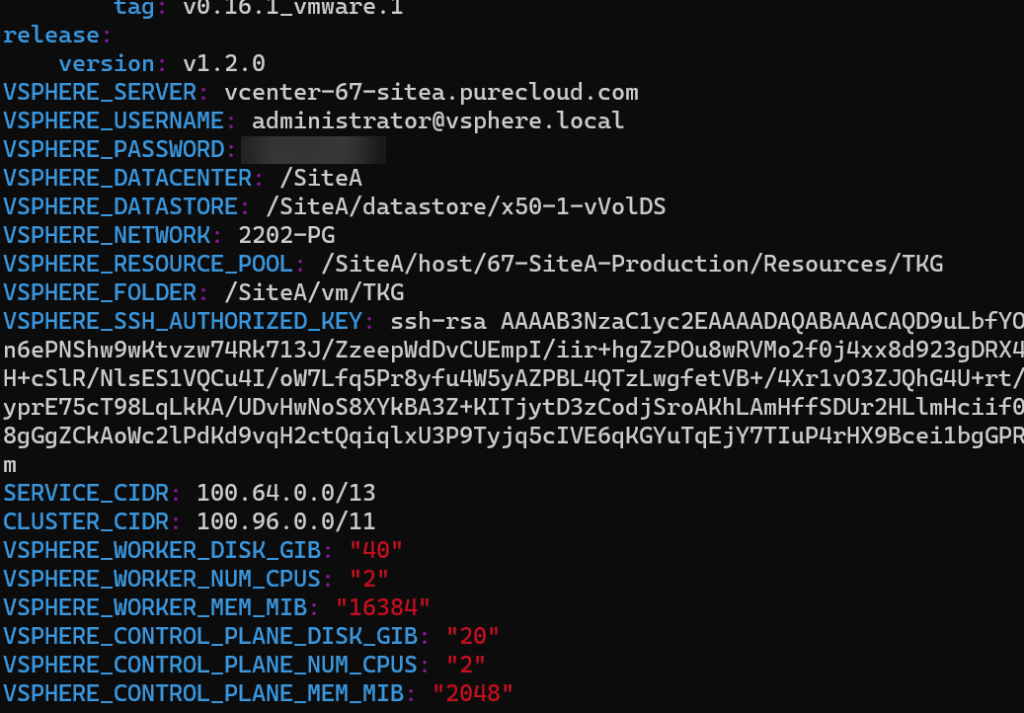
Replace the vCenter address with your own as well as the vSphere credentials. Put in the paths to the resources, I recommend fully qualified. So datacenter would be /<datacenter name, so in my case /SiteA.
For datastore, it would be /<datacenter name>/datastore/<datastore name> so in my case /SiteA/datastore/x50-1-vVolDS.
Similar for resource pool and VM folder, replace my datacenter name with yours and the resource name. If they are in a hierarchy add the full path.
Also paste in your key, it should start with ssh-rsa and end with your email address. Do not add any newlines in it. It will likely wrap (the key is long) but no manual new lines should be added, that will break how the YAML is interpreted. If the next step fails, look back at your YAML for unnecessary spaces. For the resource sizes you can use the defaults or change it–when deploying there are also tshirt sizes (small, medium, etc) that you can optionally specify for alternative resource specs.
Save the file and close it.
Step 3.4: Deploy the management cluster
Now deploy with the tkg command:
sudo tkg init --infrastructure vsphere --vsphere-controlplane-endpoint-ip 10.21.202.234 --name vsphere-management-cluster --plan prod
Specify a free IP that is routable to via the DHCP network, a name for the management cluster. I went with the production “plan” but you can go the dev route to use less resources.

You will see the VMs start to show up in your resource pool:
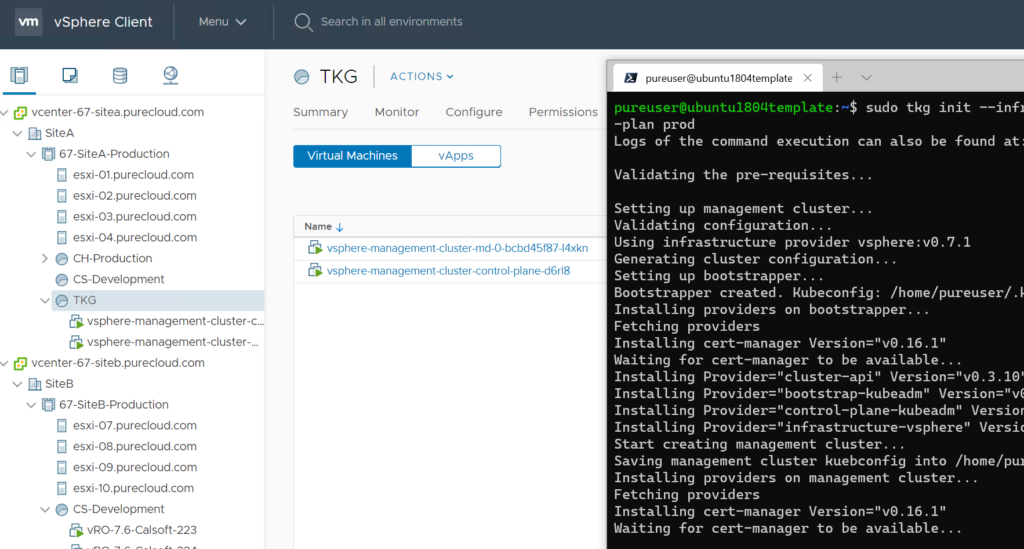
After 5-10 minutes it will complete:

Now when you run tkg get you will see the new cluster listed:
tkg get management-cluster

In the next post, we will deploy some workload clusters, called Tanzu Kubernetes Clusters.
Hi,
i try to follow your post. it works until the cluster management tries to install the cluster. At that point, the installer hung. I also did not see any vcenter login.
“pods are not yet running for deployment ‘capv-controller-manager’, retrying”
Do you have an idea why the installer is not trying to create the vm’s on my vcenter server? The registry container is up and running.
I have no glue whats going wrong.
Thanks for any hint.
Frank
Hmm. So if nothing gets deployed to vCenter the config file is probably correct. I would check the deploy logs (https://docs.vmware.com/en/VMware-Tanzu-Kubernetes-Grid/1.2/vmware-tanzu-kubernetes-grid-12/GUID-troubleshooting-tkg-tips.html) to see what the step it is hung on is.
Did you rename the OVA from the default? It says you can but I am not sure that is entirely correct.
Ok. It looks like the issue was, that the vms are not able to go to the internet directly.
After changing this, the management cluster was able to build.
Thanks
Frank
Ah thanks for the follow up. That will do it. I havent tried the offline process yet.