
Another post in my series on VVols and PowerCLI, for previous posts see these:
- PowerCLI and VVols Part I: Assigning a SPBM Policy
- PowerCLI and VVols Part II: Finding VVol UUIDs
- PowerCLI and VVols Part III: Getting VVol UUIDs from the FlashArray
- PowerCLI and VVols Part IV: Correlating a Windows NTFS to a VMDK
- PowerCLI and VVols Part V: Array Snapshots and VVols
- PowerCLI and VVols Part VI: Running a Test Failover
- PowerCLI and VVols Part VII: Synchronizing a Replication Group
- PowerCLI and VVols Part VIII: Running a Planned Migration
This post will be about managing one-off snapshots with VVols on the FlashArray with PowerCLI.
One of the still semi-valid reasons I have seen DBAs say “I dont want to virtualize because…” Is that they have simple snapshot/recovery scripts for their physical server that allows them to quickly restore DBs from snapshots. Doing this on VMFS requires A LOT of coordination with the VMware layer.
So they tell the VMware team–“okay I will virtualize but I want RDMs”. Well the VMware team says “well we’d rather die”
…and around in circles we go…
VVols provides the ability to provide this benefit (easy snapshot stuff) but still get the benefits of VMware stuff (vMotion, Storage vMotion, cloning, etc) without the downside of RDMs.
So let’s walk though that process.
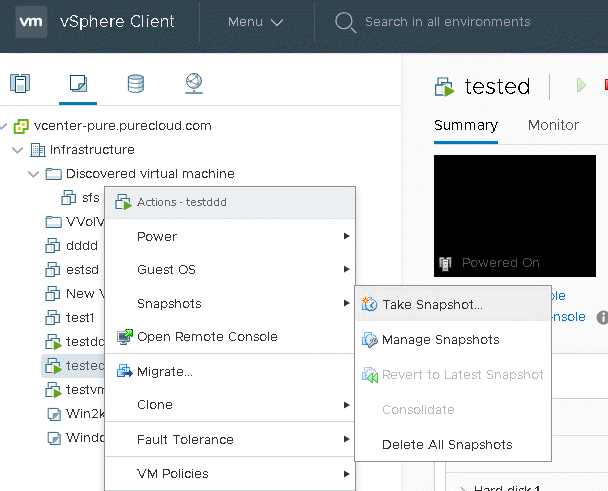
So the first step is to create a snapshot. There are three ways to do this:
- VMware managed snapshot. This is when you use some kind of VMware tool (vSphere Web Client) to create a snapshot of the VVol-based VM. This will have the FlashArray create snapshots of all of data volumes (virtual disks) at once. The benefit this way is you can easily restore the entire VM from these–because VMware tracks the snapshots. When you issue a restore it will restore all virtual disks (data VVols) at once. Furthermore, this has the ability to use VMware tools to quiesce the guest or even store the memory state. Note that this process will actually create FlashArray volumes, not traditional snapshots, because VMware expects them to be readable/writeable at certain times. But still acts as a copy source.
- Use the FlashArray manually. Using our GUI, CLI, PowerCLI etc. and manually snapshot a data VVol. VMware does not know specifically about these point in times because they were taken without VMware knowing about it. These are called “unmanaged” snapshots by VMware. The upside here is you can use almost any tool to create them (anything that can talk to the FlashArray), they are more specific as you can just snapshot a single data VVol if you want, since they are snapshots on the FlashArray you can create a whole lot more of them. The downside is that since they are not coordinated by VMware, it is not as easy to quiesce the guest etc before creating them.

- Using FlashArray protection groups. By putting a VVol VM into a SPBM policy that includes a local snapshot schedule, the VM VVols will be put into a FlashArray protection group that creates local snapshots on a specified interval and deletes them according to a retention policy. Or you can manually put the data VVols into a protection group directly on the array if you so choose (though I recommend doing it via SPBM policies). The upside here is that they are policy based–created on a schedule and deleted on a schedule. Plus since you can have many volumes in a group you get cross-VM consistency if that is something you need. Another upside is that VMware has insight into this, since you can assign the storage to a protection group via SPBM policies–you also have granularity. You can assign the whole VM or just a single virtual disk. The downside is the same as the one-off snapshots–no coordination with VM-level quiescing.

So however you choose to copy your VM VVol-data volumes is up to you. There are many options. All of them result in essentially the same thing–an object on the array (be it a volume or a snapshot) that is a point in time of a VVol-virtual disk you can copy from.
So enough with the pre-amble. Let’s get to PowerCLI.
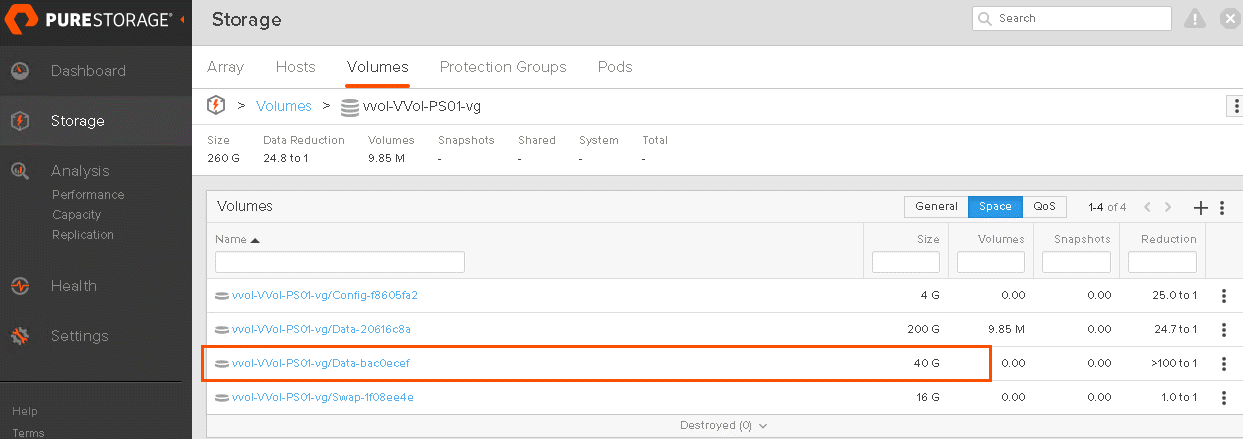
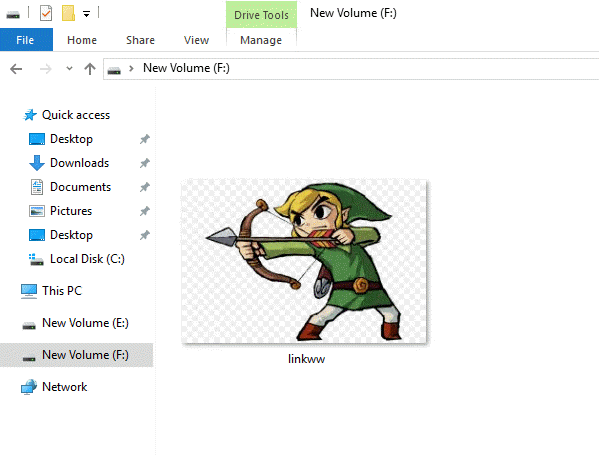
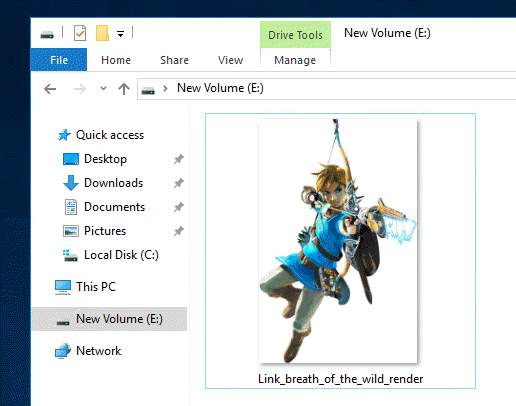
Before I get into the details, let’s show my environment. I have a VVol-based VM called SRM-VM02. It has two disks, a C:\ which is 200 GB and a E:\ which is 40 GB. On my E:\ I could have put some more interesting data, but it doesn’t really matter so I went with an image of Link from The Legend of Zelda Breath of the Wild:

Here you can see the VVol-based VM on my array and its volumes:
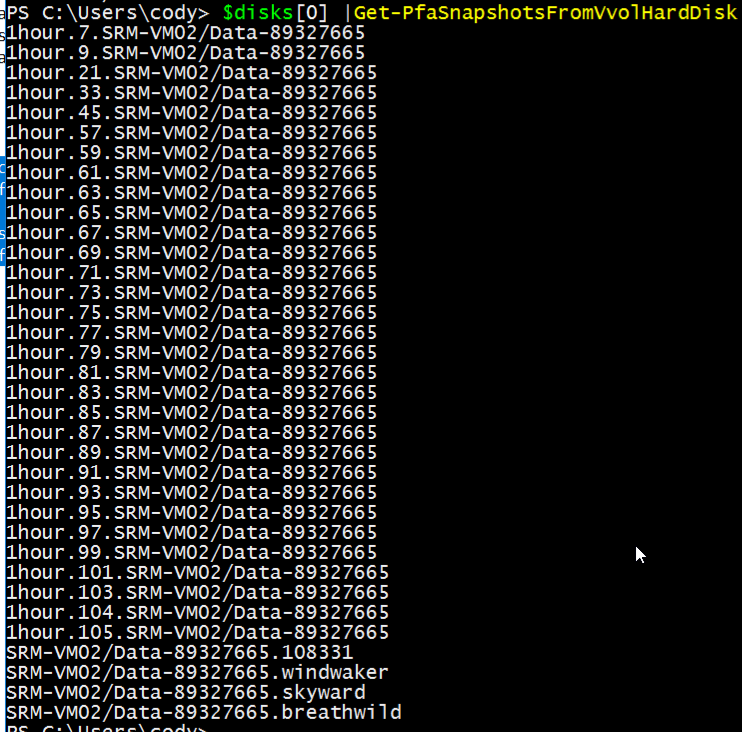
If I look at that volume I have three point in times, one of Link from Wind Waker, one from Skyward Sword, and one from Breath of the Wild.
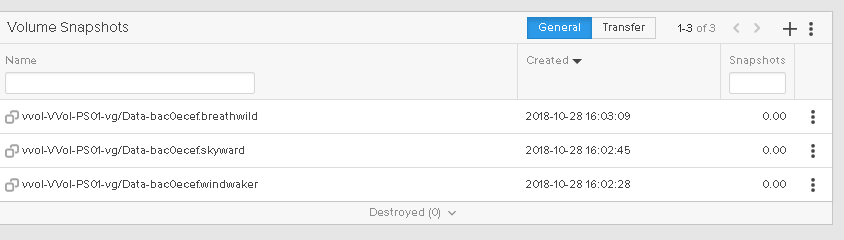
As I mentioned, this is just a small image, but it truly doesn’t matter. One of the great things about VVols and the FlashArray is that this volume could be a 200 KB image or a 20 TB database, and the copy and restore time is the same–because it is entirely offloaded to the array. Since it is a metadata copy (no actual data is copied or moved), it for all intents and purposes takes the same amount of time: well less than a second.
Retrieving Snapshot of a VVol Virtual Disk
So this is the first part. You can of course use the GUI to find them etc, but since we are talking about PowerCLI, let’s do it with that! What snapshot do I want to use?
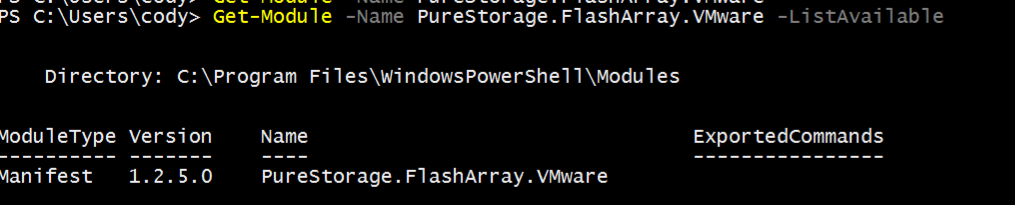
The next move is to use my PowerShell module which you can install automatically (or manually download) from the PowerShell gallery with:
install-module PureStorage.FlashArray.VMware
Then connect to vCenter, and one or more arrays, then grab the VM and its disks:
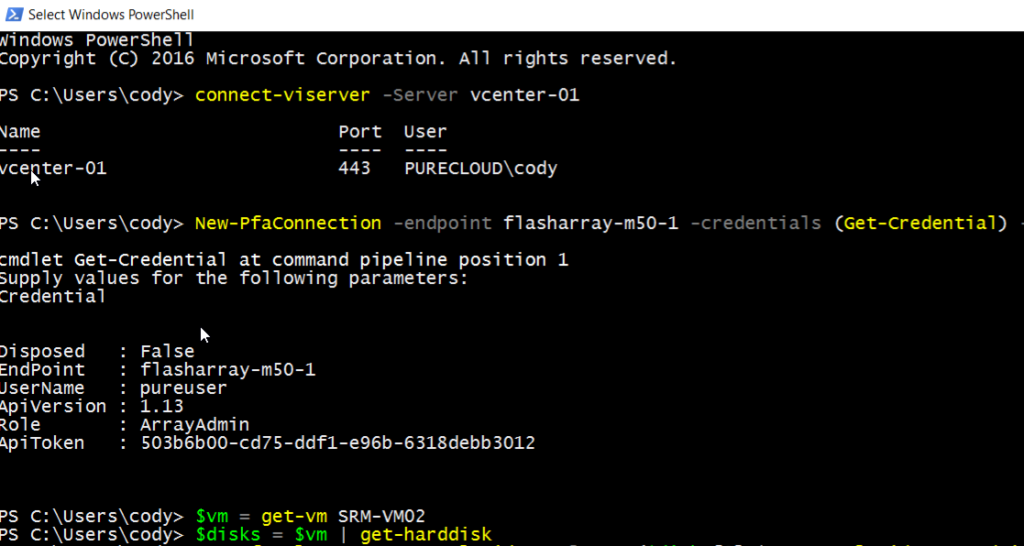
It has a cmdlet called get-pfaSnapshotsFromVvolHardDisk that takes in a disk object from get-harddisk and returns the FlashArray snapshots of the volume used by the virtual disk:

With this, getting the snapshots is six lines:
connect-viserver -Server vcenter-01
New-PfaConnection -endpoint flasharray-m50-1 -credentials (Get-Credential) -ignoreCertificateError -defaultArray
$vm = get-vm SRM-VM02
$disks = $vm | get-harddisk
$disks |Get-PfaSnapshotsFromVvolHardDisk
This code could be shortened further, but for explanation value I will keep it expanded as above.
For those who don’t care, move on, but for those who want the details on what happens in that cmdlet:
Well it does the following:
- Gets the VVol UUID from the hard disk (read post here)
- Creates a REST session to the FlashArray
- Pulls the VVol tags
- Matches the tag and returns the volume name, then uses the Pure PowerShell SDK to pull the snapshots from that volume name
- Finally returns the snapshot name list to the end user as an array of strings.
Copy Snapshot to New VVol
So now that we have the snapshot, we can copy it to a new VVol.
Note: whether or not you are copying from a volume or a snapshot, all of this is the same from this point on.
There are a couple ways to achieve this:
- Directly copy the snapshot to a new volume. You can use the VMware API importUnmanagedSnapshot to achieve this, but it is unnecessarily complicated.
- There are ways to clone a single disk from the VMware API, but if you want to do a point in time in the past it gets more difficult.
- Create a new VVol hard disk and then do a copy on the FlashArray from the snapshot to the newly created volume on the array. This, by far, is the simplest option, using well known commands.
Let’s go with option 3.
I want to present a copy of this VVol to a VM, but I want to present the Wind Waker point-in-time.
The process to do this would be as follows:
- Find the provisioned size of the source. The snapshot I want to copy from is 40 GB.
- Go to the target VM and create a 40 GB virtual disk. I needed the provisioned size of the snapshot, because when a volume is in use as a VVol you can overwrite it from the array all day long, VMware doesn’t care but it cannot be resized from the array side. So if the array copy caused the volume to be resized, VMware wouldn’t know and therefore the capacity change would not show up in the guest. VVol-based virtual disks must be resized by VMware.
- Identify the new volume created by creation of the new VVol virtual disk.
- Go to the array and do a copy from the snapshot to the new volume.
- Done!
So I find my snapshot:

So, SRM-VM02/Data-89327665.windwaker.
I have two relevant cmdlets:
- copy-pfaVvolVmdkToNewVvolVmdk
- copy-pfaSnapshotToNewVvolVmdk
They do essentially the same thing, but one takes in a VMDK object, so it would copy a virtual disk (data VVol) from the existing point-in-time, and the 2nd takes in a snapshot name and then copies it to a new data VVol. Both automatically create the right size new hard disk and then copies the source to it. Note that the snapshot can be a snapshot of anything–doesn’t have to be of a data VVol. It could be a copy of a volume presented to a physical server, whatever. Once again–another great benefit of VVols.

So just a two-liner:
$vm = get-vm SRM-VM02
$vm |copy-pfaSnapshotToNewVvolVmdk -snapshotName $snapshots[32]

Remember, most of the cmdlets support pipelining for most of the non-string variables, so you can either pipe them in like I did with the VM above or pass them as a direct parameter, like I did with the snapshot name.
This cmdlet then returns the new hard disk.
Now in my VM I can see the copied disk and I can see my Link Wind Waker style!
Copy Snapshot to an Existing VVol
This is pretty much the same process as above conceptually. Though there are a couple things to remember:
- When overwriting an existing file system, make sure it is not in use (AKA make it offline in Windows for example first)
- VMware does not allow shrinking of virtual disks, VVol or otherwise. Therefore if your copy source is smaller than your target, you will not be able to do this. Instead you will need to copy it to a new one, or delete the target disk and run the process above.
- If the target disk is smaller than your source, you will need to have VMware resize it to the correct size first–using set-harddisk.
I have a cmdlet that does this all for you as well. The logic is as so:
- Takes in a source (snapshot of VMDK) and a target VMDK
- Looks at the provisioned size of the source and target. If they are the same it moves on. If the target is smaller, it will increase the size of the target VMDK first, then move on. If the target is larger, it will fail.
- Copies the source to the target volume.
In this case, I want to take the volume that has the Wind Waker Link and replace it with the Skyward Sword Link. So I offline the volume in Windows, then grab this snapshot (SRM-VM02/Data-89327665.skyward):
I then pull in the VMDK I want to overwrite:

The full process is:
$vm = get-vm SRM-VM02
$vmdks = $vm |Get-HardDisk
$vmdks[2] | copy-pfaSnapshotToExistingVvolVmdk -snapshotName $snapshots[33]
and done!
The Pure Storage VASA Provider is supported by VMWare for 6.5, 6.5U1 and 6.5U2. But there is no official Support for 6.7 and 6.7U1 on the VmWare Compatibility Guide?
Let me check on this—it should be posted. Thanks!
Hi Cody,
Do we have vSphere 6.7 U1 compatible VASA provider available?
Thanks,
Kannan
We have worked with Pure support to update the matrix. Please check this out
https://support.purestorage.com/Solutions/VMware_Platform_Guide/vSphere_Web_Client_Plugin/Compatibility%3A_vSphere_Plugin
vSphere Web Plugin VASA Provider
https://www.vmware.com/resources/compatibility/search.php?deviceCategory=vvols&details=1&vasaProvider=306&page=1&display_interval=10&sortColumn=Partner&sortOrder=Asc
VASA still @ 6.5 (U1, U2)
no 6.7 (U1) listed
We are in the final throes of certification–this should be done quite soon.